Table of Contents
Click on the topic you want to learn more about, alternatively scroll down the page.
Introduction #
The navigation articles have been written to help you find your way around the dashboard.
Focus on screen structure and button placement, rather than content.
In addition, some content has been blurred for privacy reasons.
Please note that some screens may not available for every role profile.
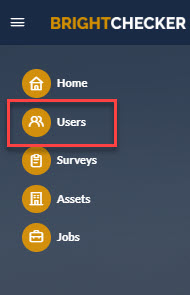
Find The ‘ADD NEW USER’ Side Bar #
- From the main menu, click Users.
- As a result the ‘Manage Users’ screen opens.
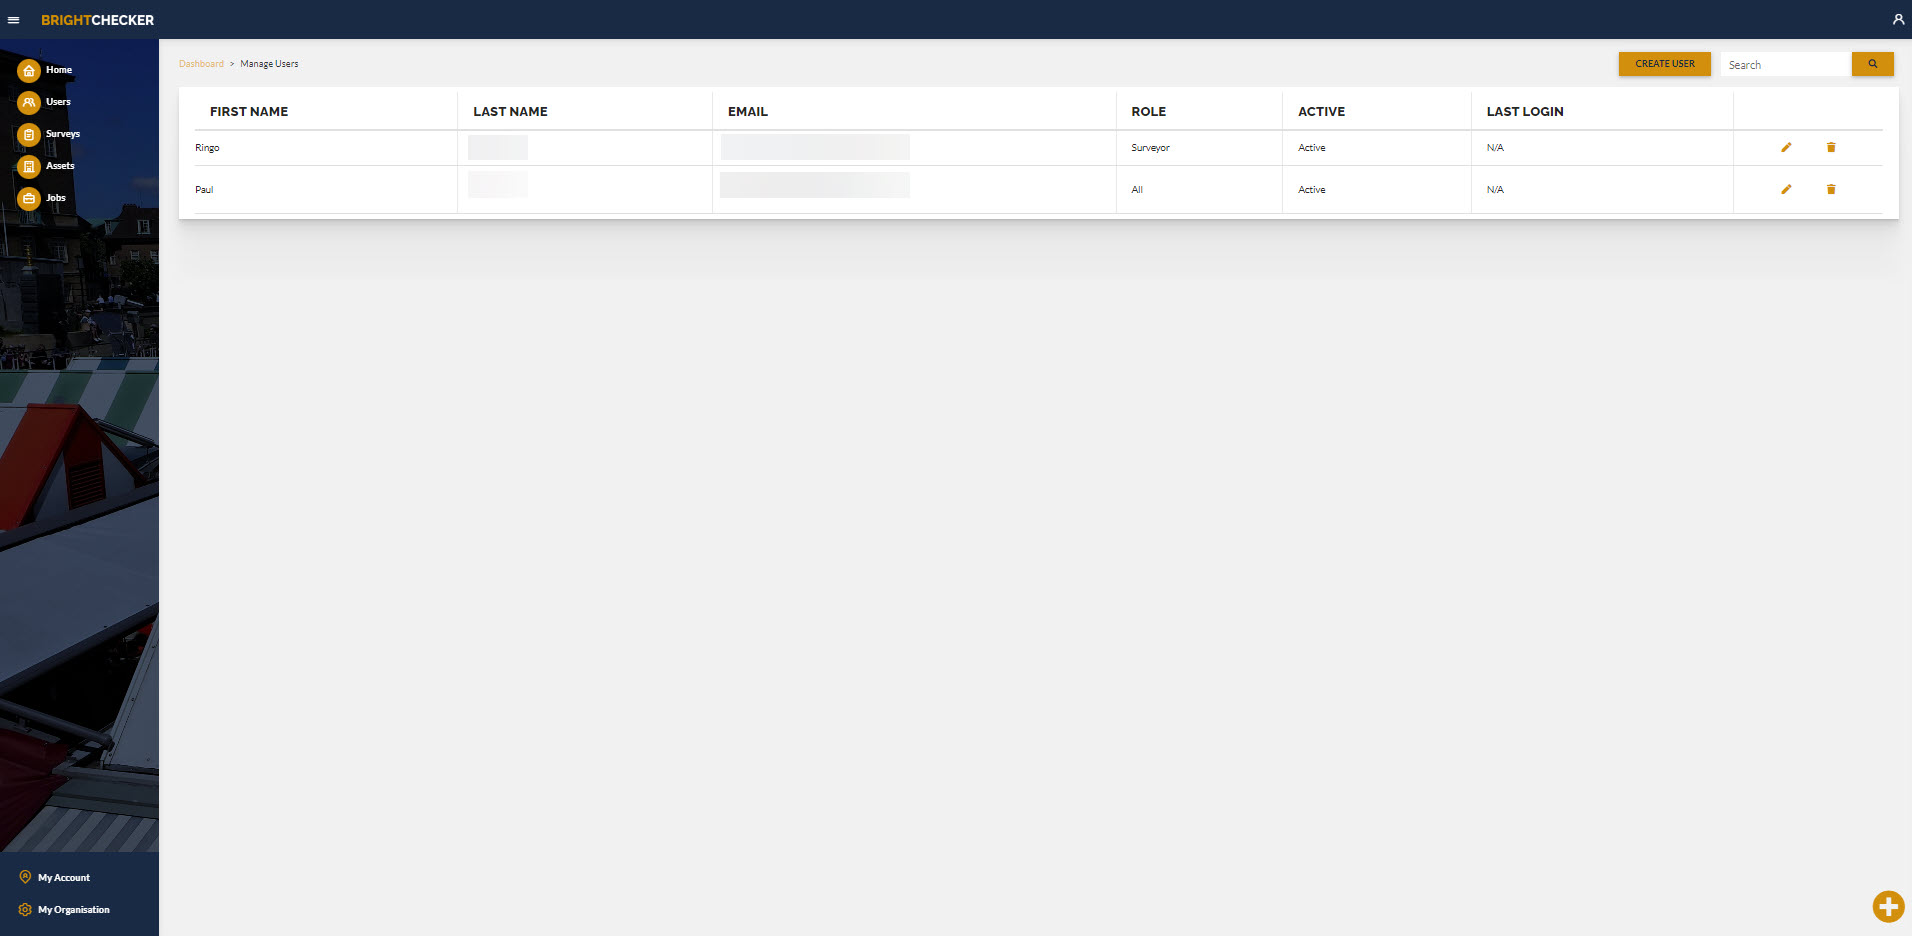
- From the ‘Manage Users’ screen, click ‘Create User’.

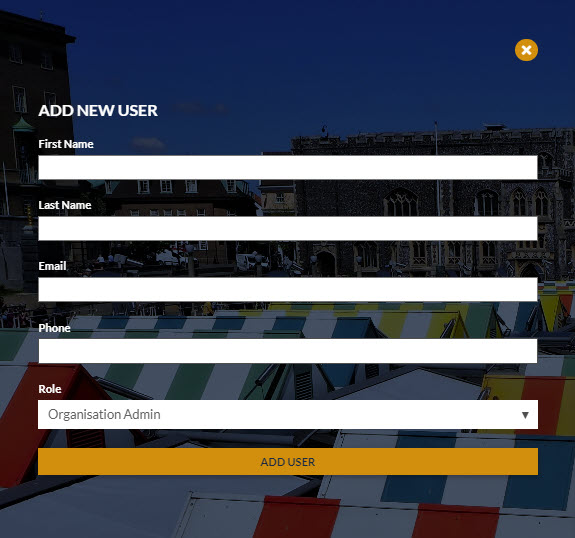
- As a result the ‘ADD NEW USER’ sidebar opens.
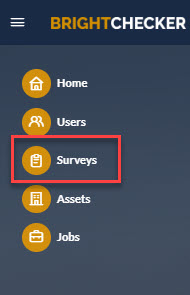
Find The ‘CREATE SURVEY’ Side Bar #
- From the main menu, click ‘SURVEYS’.
- As a result the ‘Manage Surveys’ screen opens.
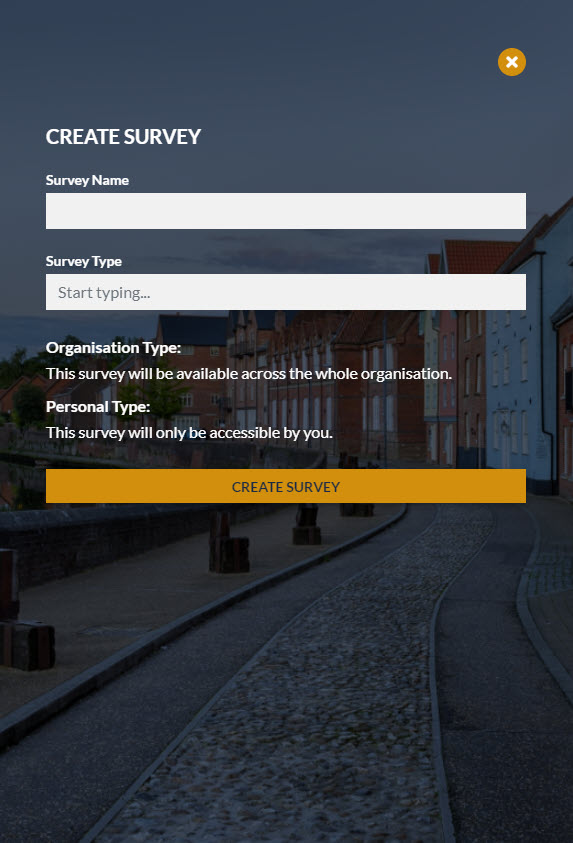
- From the ‘Manage Surveys’ screen, click ‘Create Survey’.
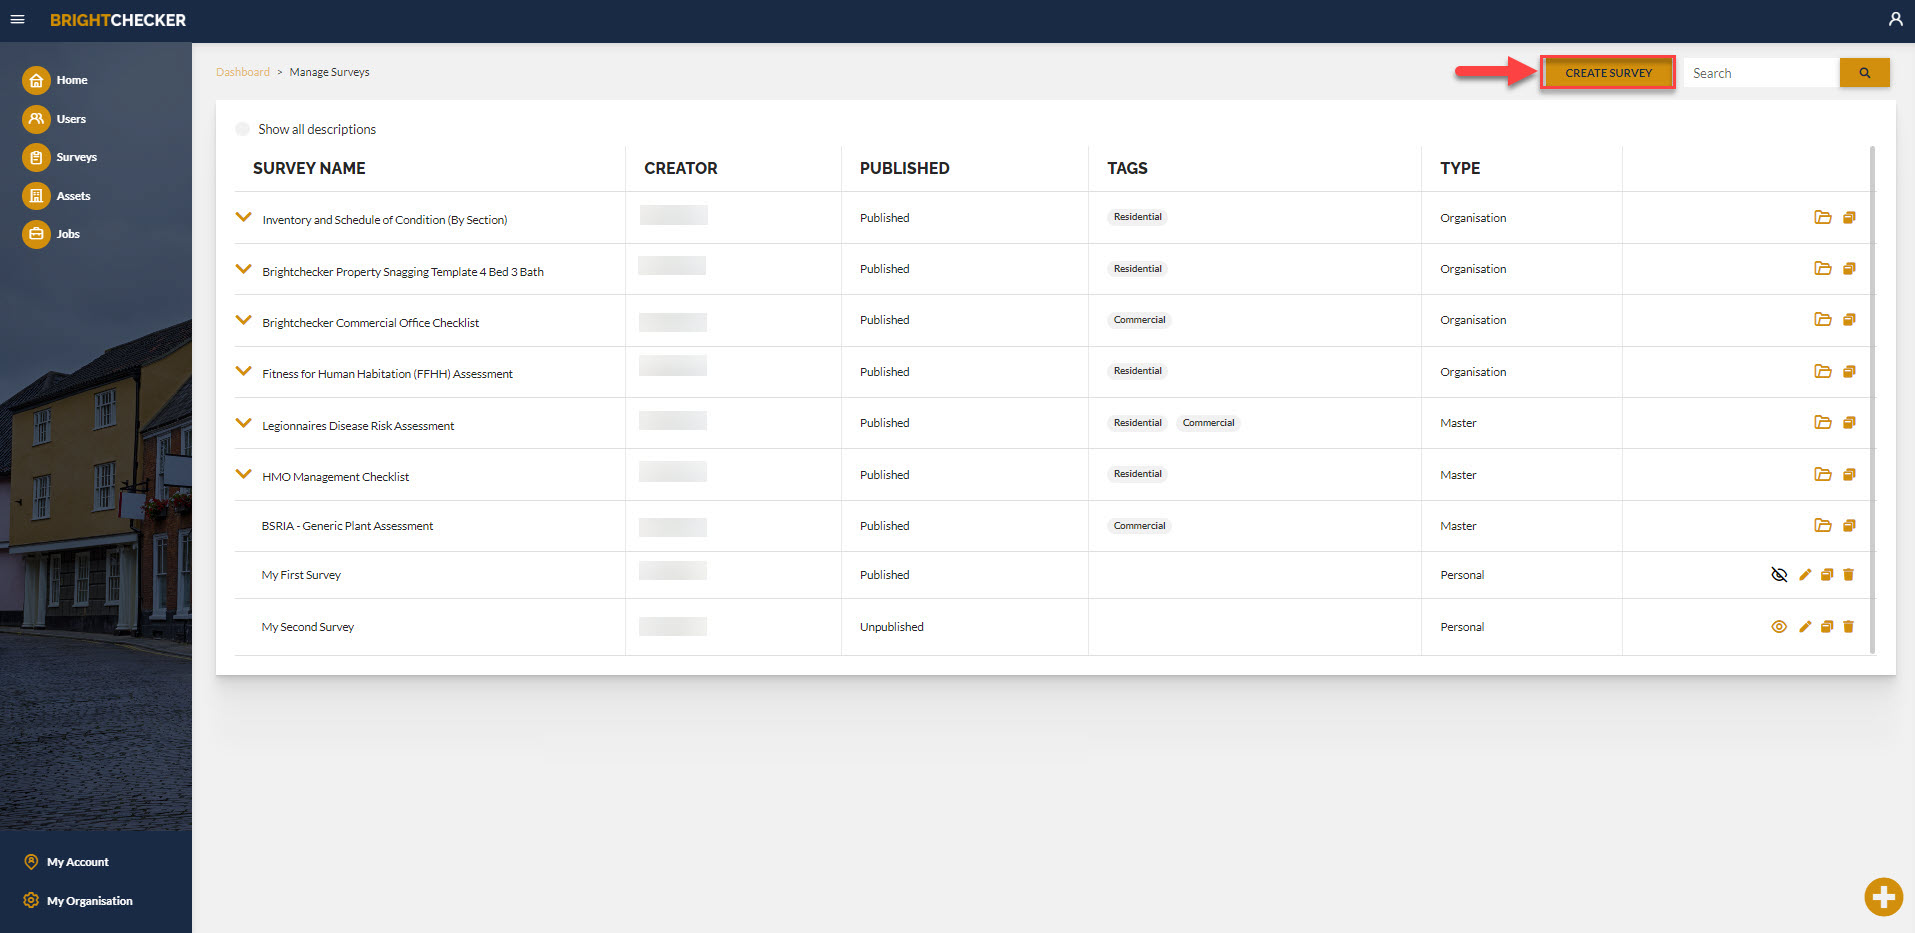
- As a result the ‘CREATE SURVEY’ sidebar opens.
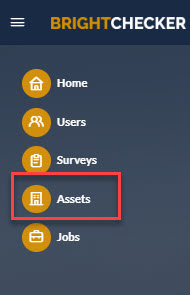
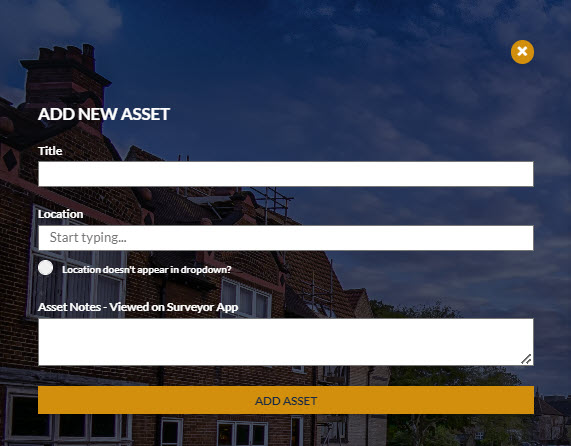
Find The ‘ADD NEW ASSET’ Sidebar #
- From the main menu, click ASSETS.
- As a result The ‘Manage Assets ’ screen opens. In this example details have been blurred out for privacy.
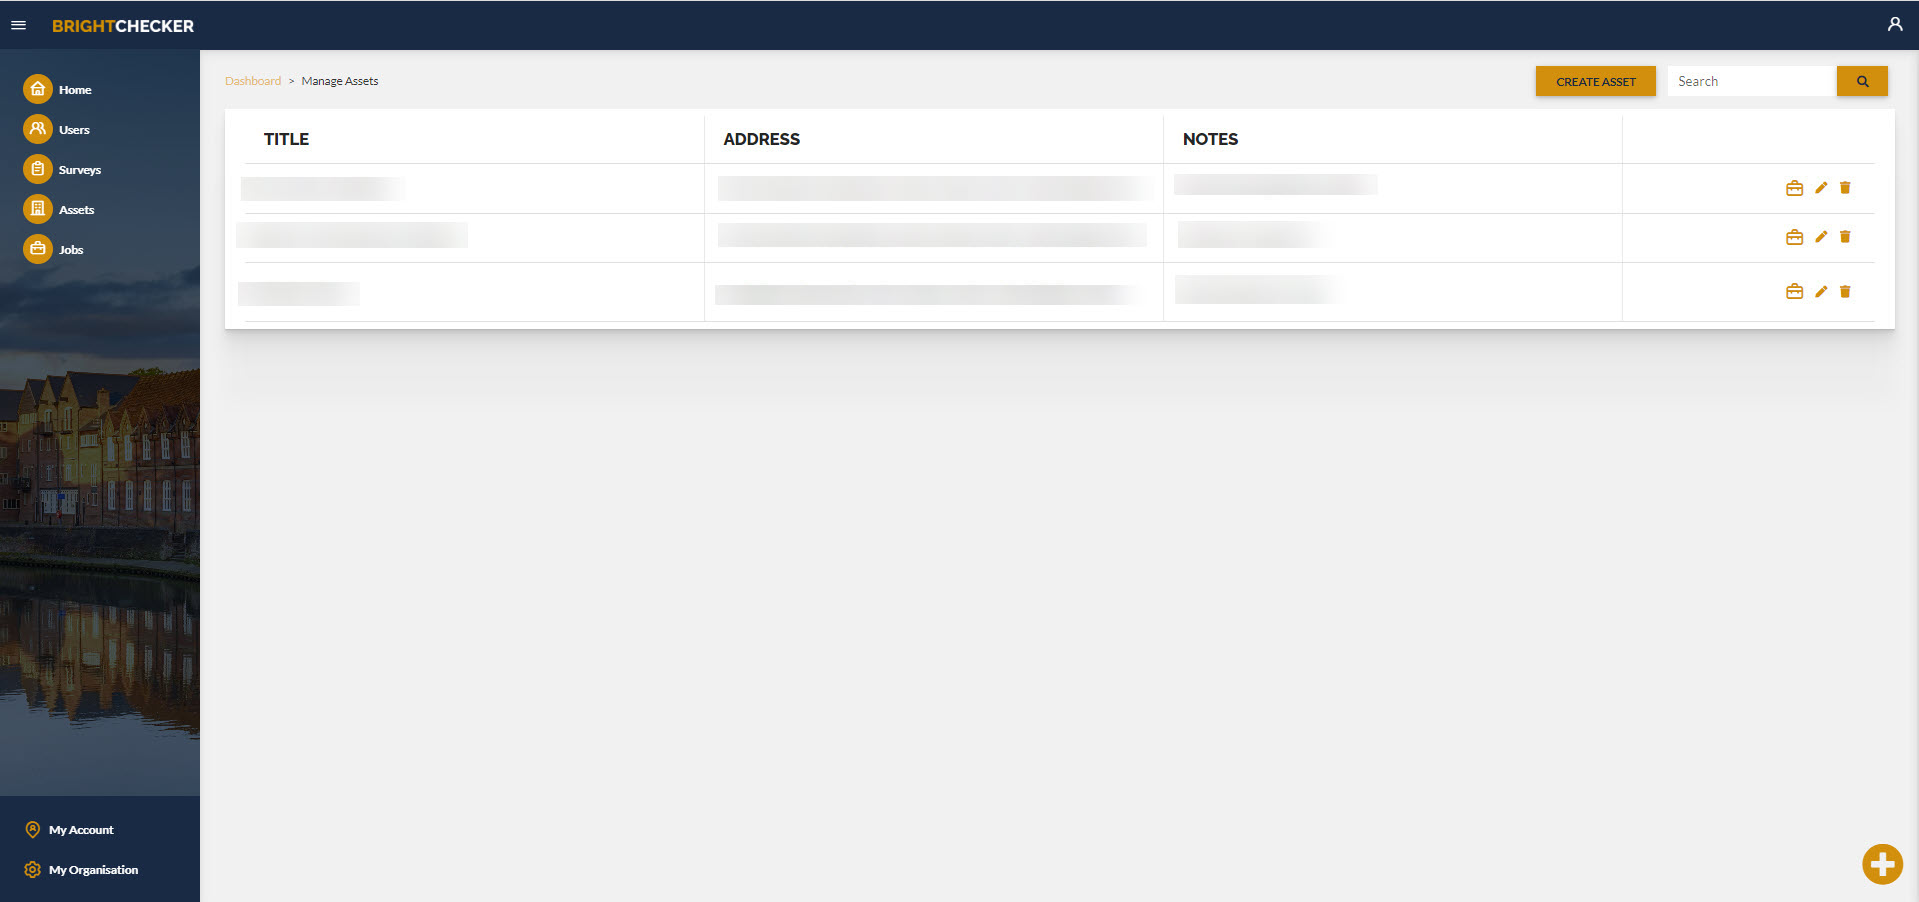
- From the ‘Manage Assets ’ screen, click ‘ADD NEW ASSET’.
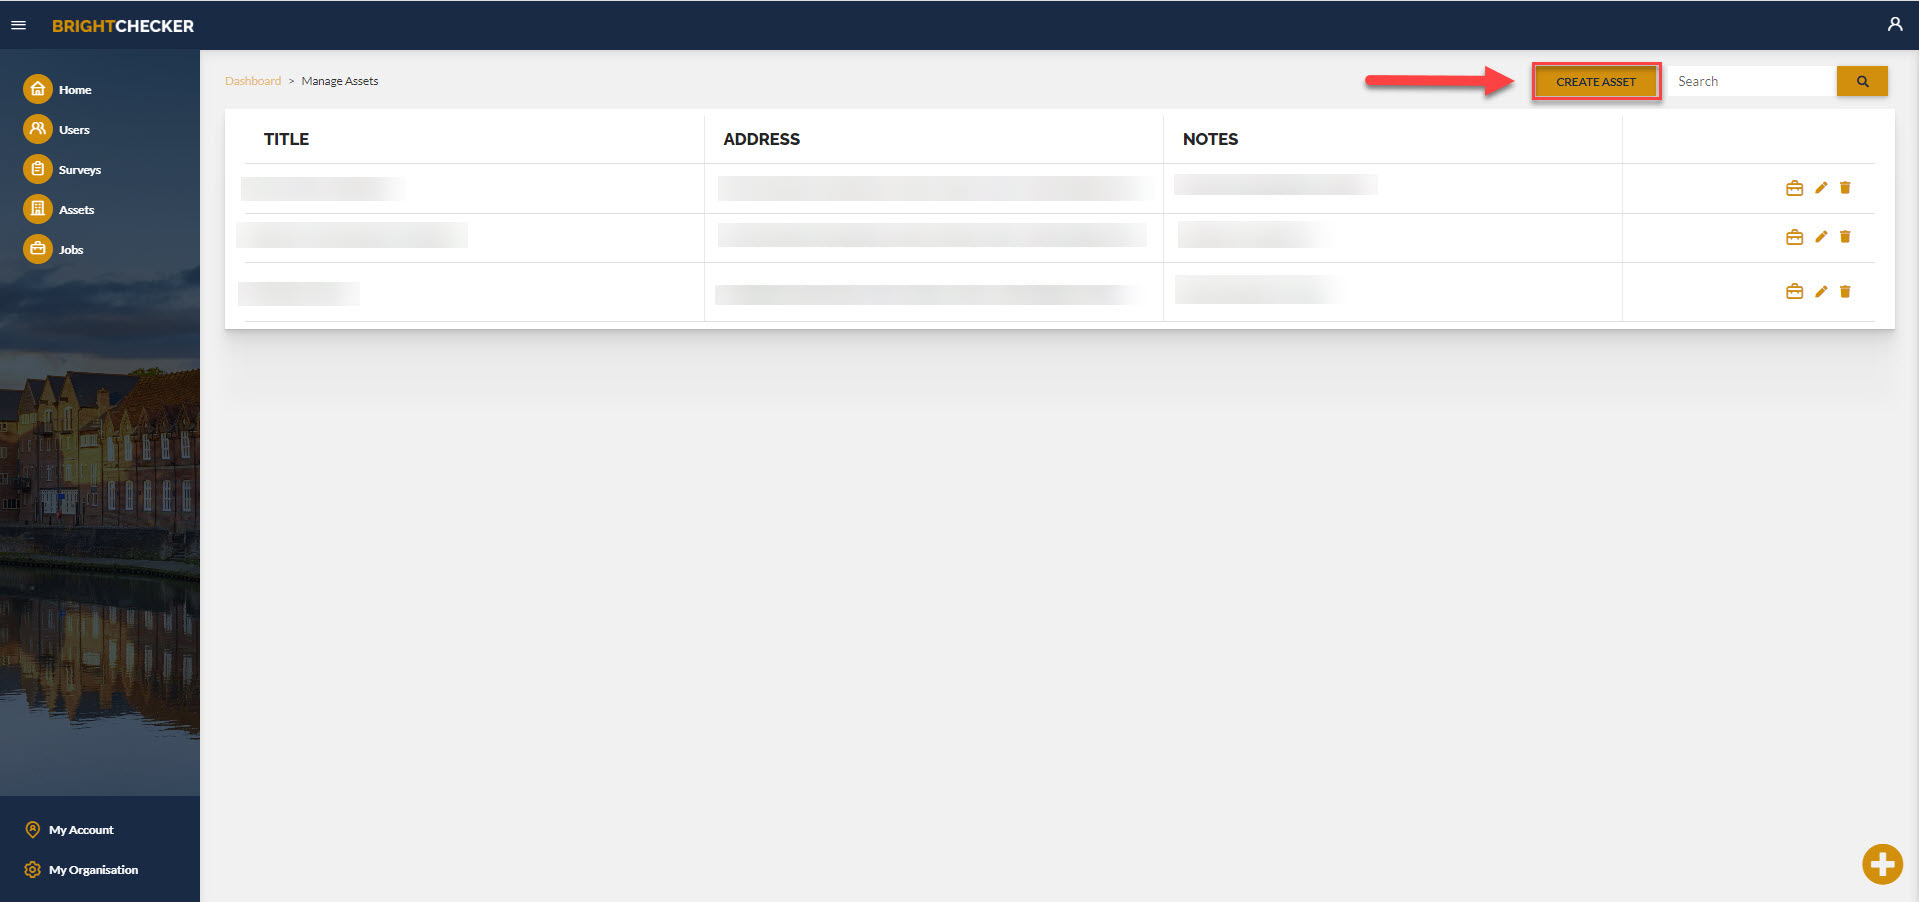
- As a result The ‘’ADD NEW ASSET’ sidebar opens.
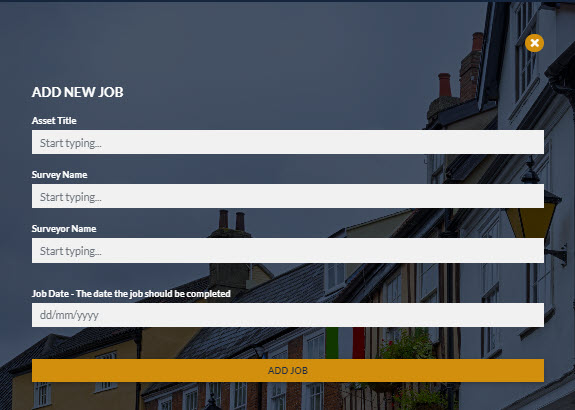
Find The ‘ADD NEW JOB’ Sidebar
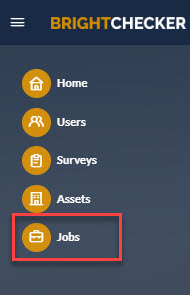
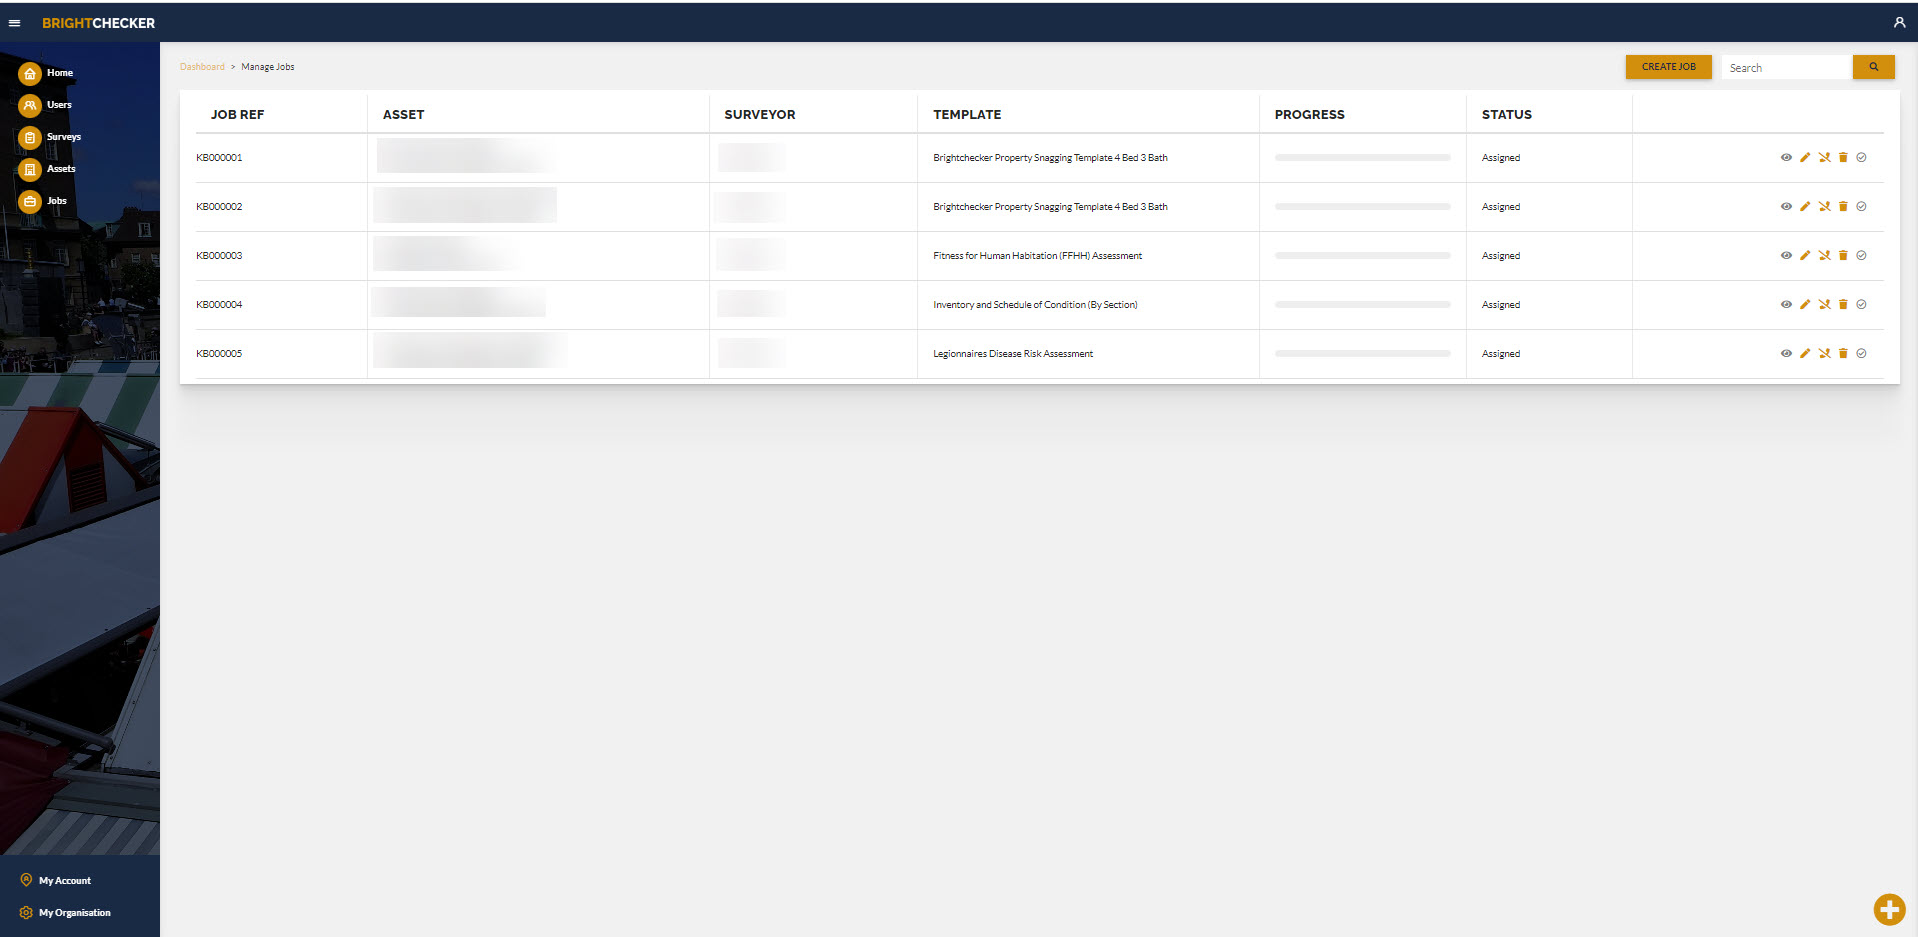
- From the main menu, click Jobs.

- From the ‘Manage Jobs’ screen, click ‘ADD NEW JOB’.

- The ‘’ADD NEW JOB’ sidebar opens.
Find The ‘REPORTING’ Sidebar #
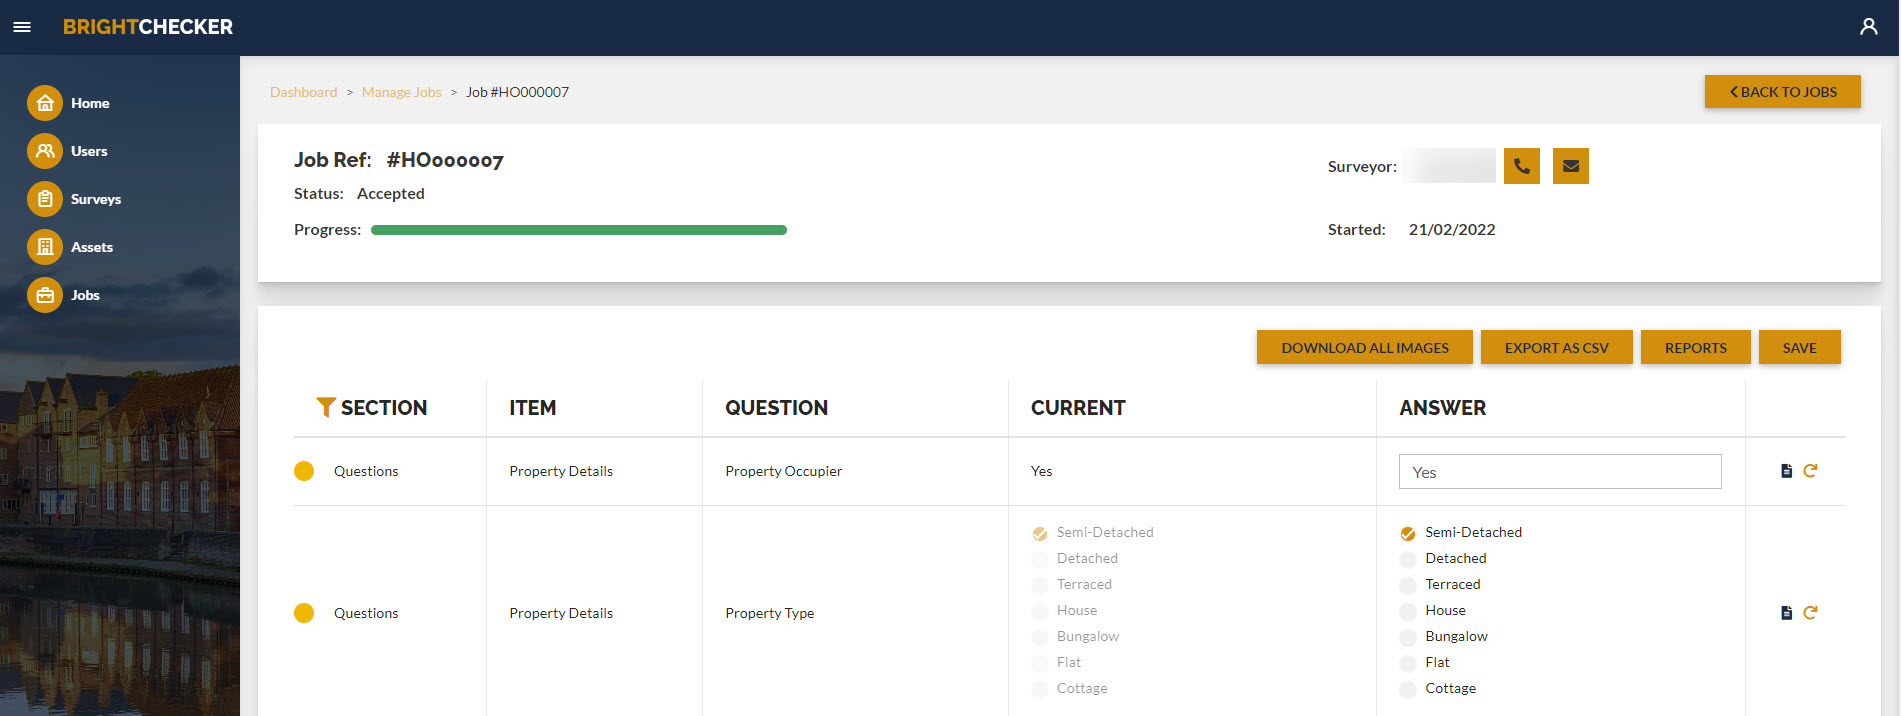
- From the main menu, click Jobs.
- As a result the ‘Manage Jobs’ screen opens.
- Click the orange view ‘Eye’ Icon against a job. N.B. If the eye icon is grey then the job has not been accepted, and you will not be able to open the job reference screen to review or report on the job.
- As a result the Job Reference screen opens for that job.
- Click the ‘Reports’ button top right.
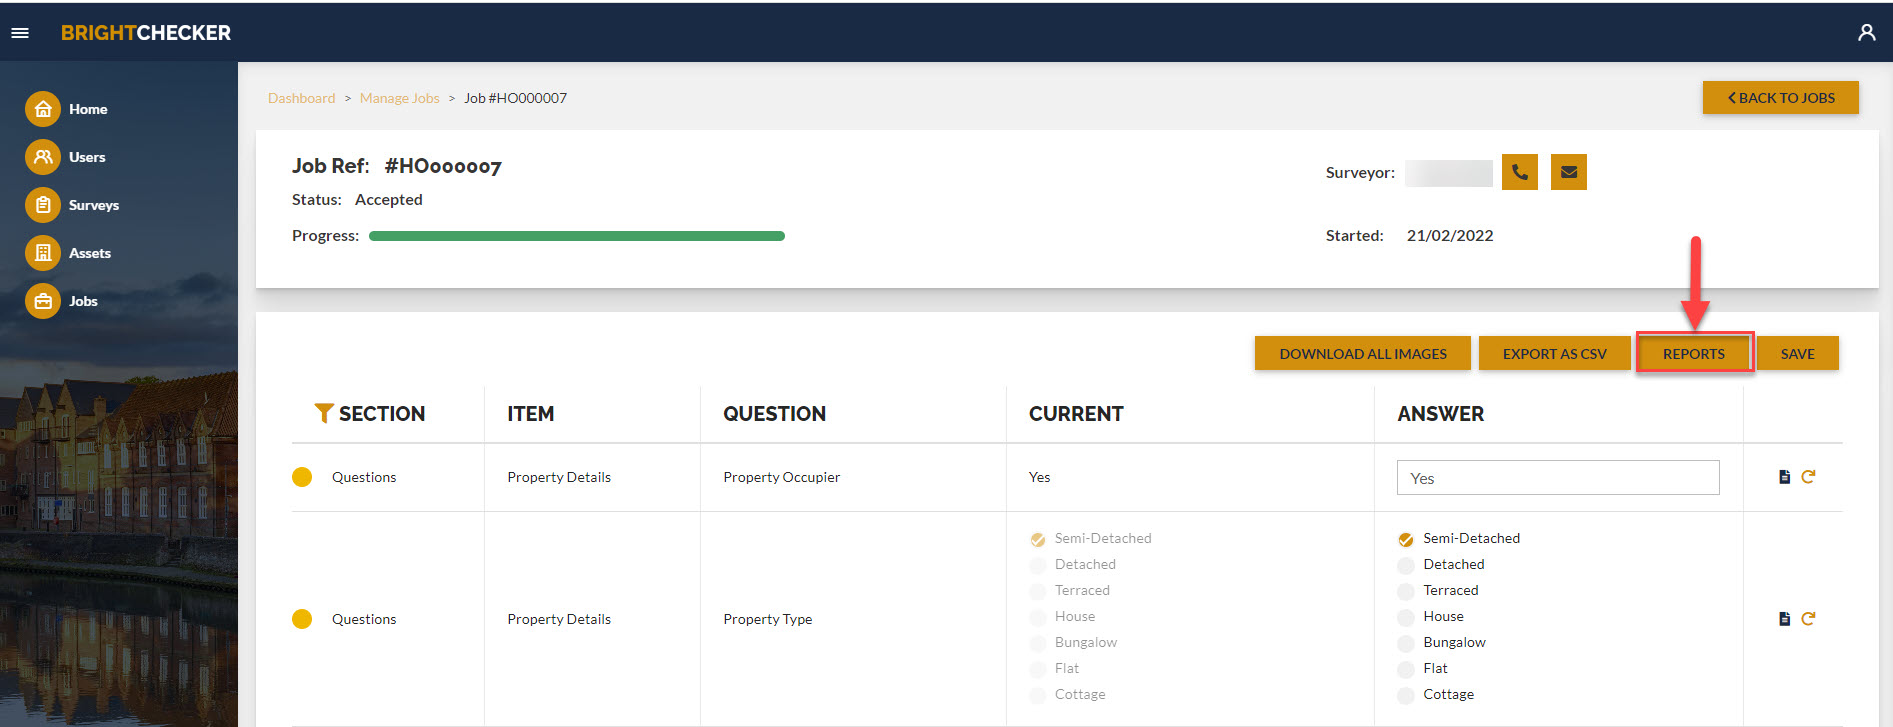
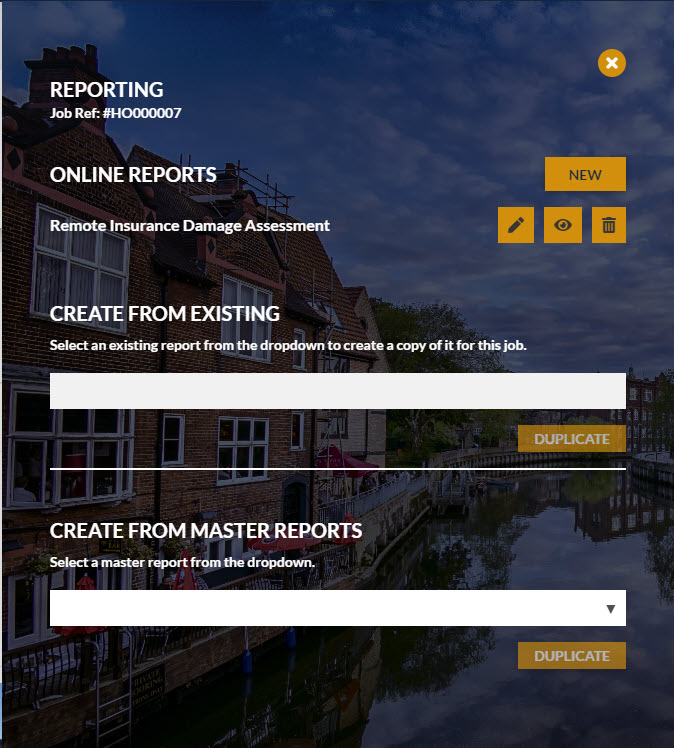
- As a result the ‘Reporting’ sidebar opens. N.B. The Remote Insurance Damage Assessment reporting template is indicative only.
Find the ‘Report Builder’ Screen #
- From the main menu, click Jobs.
- As a result the ‘Manage Jobs’ screen opens.
- Click the orange view ‘Eye’ Icon against a job. N.B. If the eye icon is grey then the job has not been accepted, and you will not be able to open the job reference screen to review or report on the job.
- As a result the Job Reference screen opens for that job.
- Click the ‘Reports’ button top right.
- As a result the ‘Reporting’ sidebar opens. N.B. The Remote Insurance Damage Assessment reporting template is indicative only.
- Click the pen icon against an online report template or if there is not one click ‘NEW’
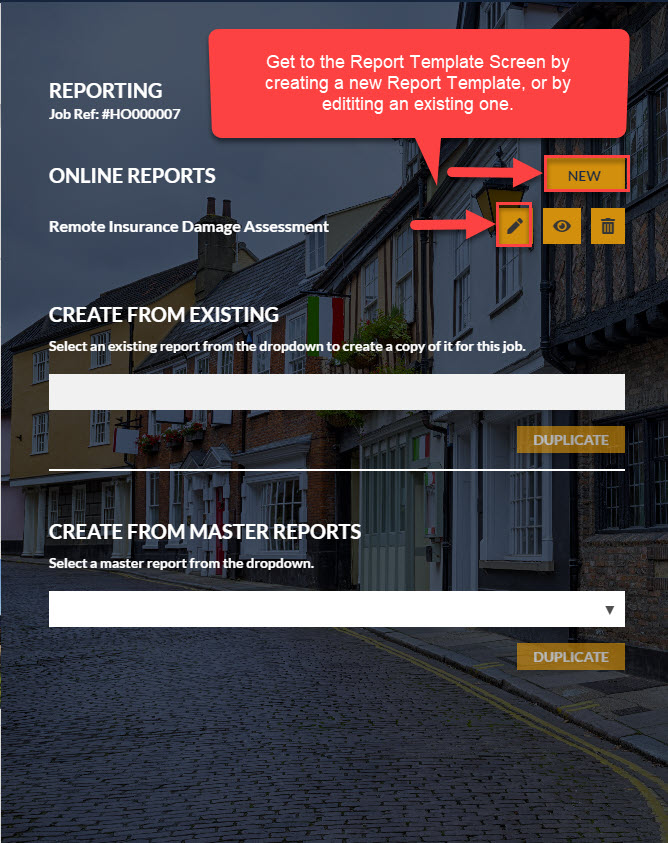
- As a result the ‘Report Builder Screen’ opens.

Useful Links #
Brightchecker Knowledgebase Index