- Reporting - Requires A Report Template
- Create A New Report Template
- Report Template - Page Creation
- Report Template - Compulsory Page Name
- Cover Page - Select
- Cover Page - Designs
- Cover Page - Content Options
- Info Page - Select
- Info Page - Designs
- Info Page - Content Options
- Content Page - Select
- Content Page - Design
- Content Page - Content Options
- Summaries Page - Select
- Summaries Page - Design
- Summaries Page - Content Options
- Back Page - Select
- Back Page - Design
- Back Page - Content Options
- Index Page - Select
- Index Page - Design
- Index Page - Content Options
- Report Page - Insert/Save
- Multiple Pages
- Change Page Order
- Report Template - Edit
- Report Template - Remove from Job
- Useful Links
Build A Report Template. Find out about all the tips and tricks to build a Brightchecker Report, with our user friendly guide.
Click on the topic you want to learn more about, alternatively scroll down the page.
Reporting – Requires A Report Template #
A report template is necessary in order to present your job data.
You can:
- Build your own from scratch
- Copy a master template and then modify it
- Use a Master Report Template
This article will help you with (1) and (2).
Create A New Report Template #
- From a Job review page click the orange ‘reports’ button.

- As a result, the reports sidebar opens.
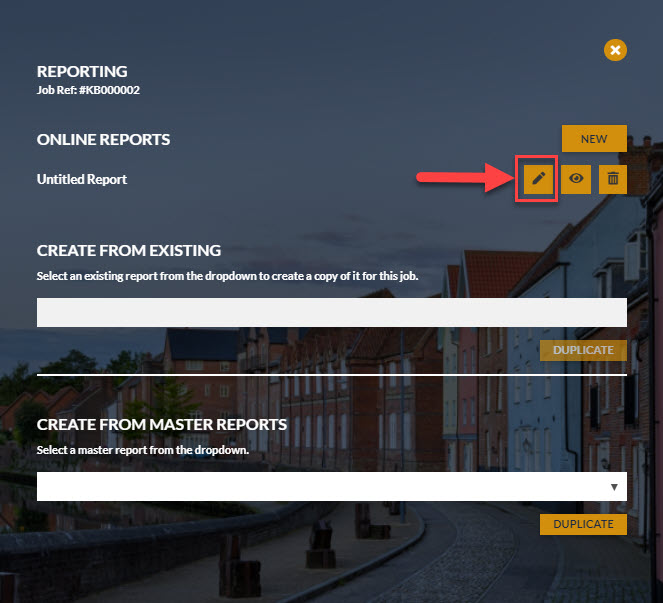
- From the ‘Reports’ sidebar, click ‘new’ to create a new report template.
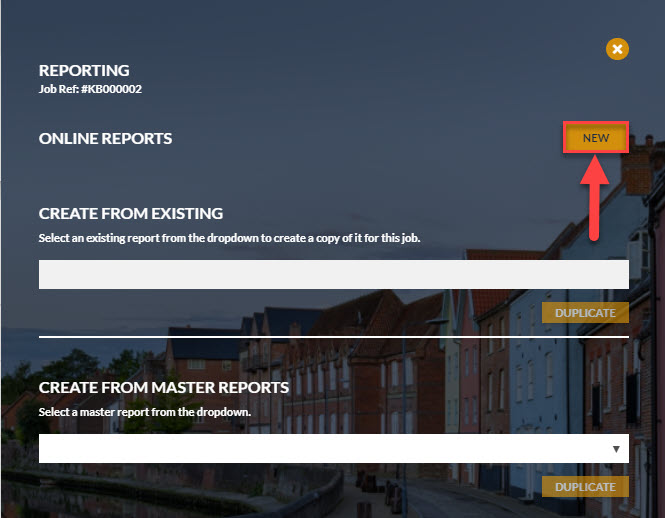
- As a result, a new ‘Untitled Report’ template appears.
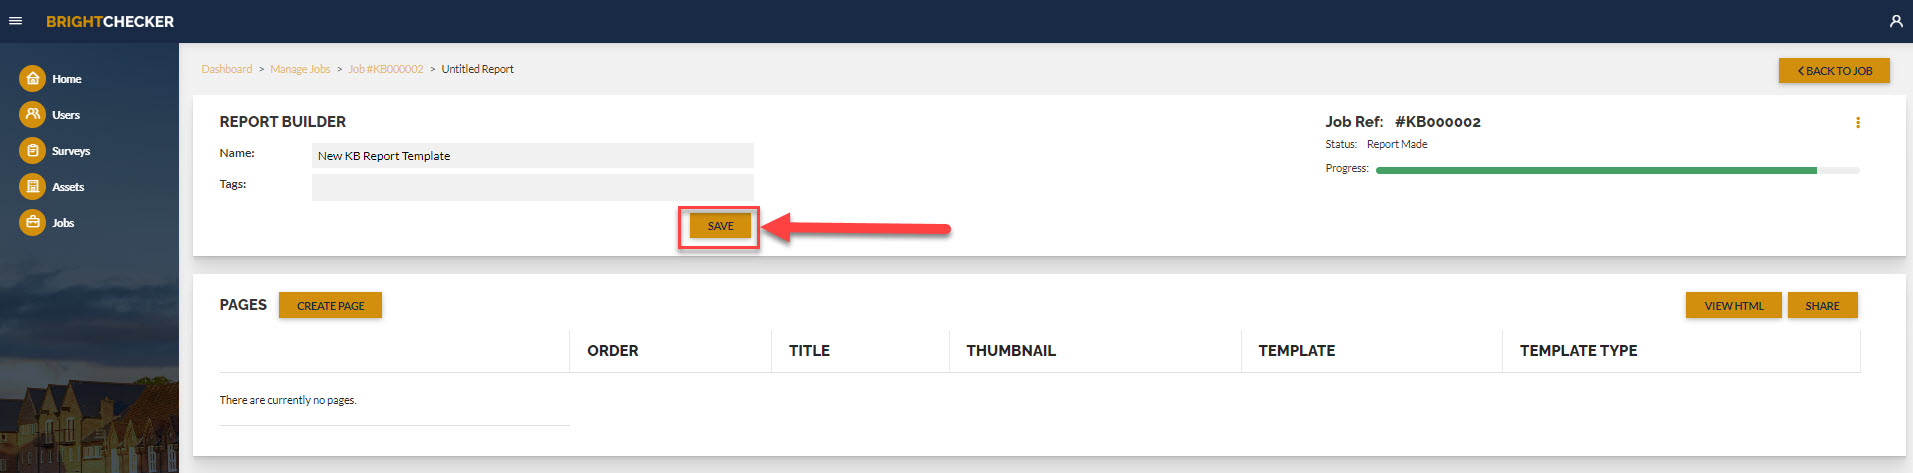
- Click the pen icon next to the untitled report template to open the ‘report builder’ screen.

- As a result the report builder screen opens
- Click on the name box and rename the report template.

After entering a report template name, click ‘Save’ to save the report name.
Report Template – Page Creation #
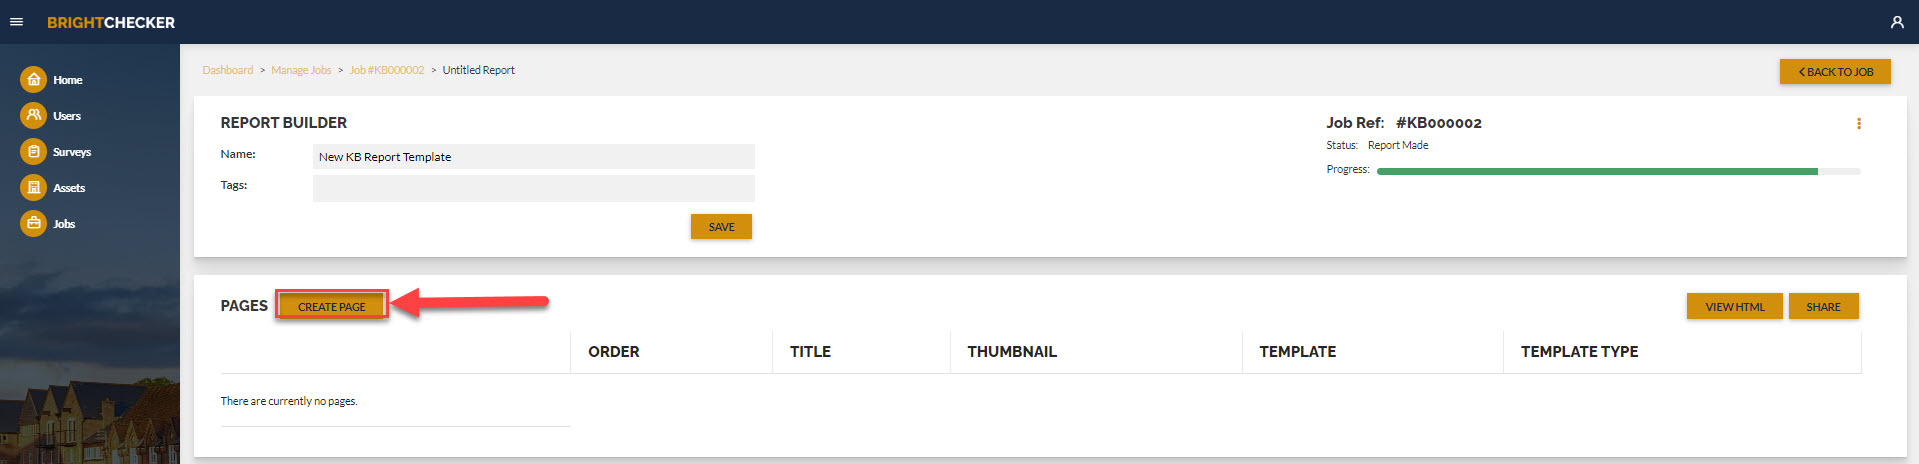
A new report template will have no pages. A report template must have ‘pages’ if it is to produce a report.
We use the term ‘page’ in this context as a place marker to put a block of predefined and/or job dependent information.
You can report job responses in one content page, or several different content blocks (split by section and/or items).
Other than content pages, you can build cover pages, Info Pages, Summaries, Back Page and Index pages.
A report template can be built from as many as many ‘pages’ as you need.
- From the Report Builder screen, click ‘Create page’ to start building a report template.
Report Template – Compulsory Page Name #
- Click on the ‘Page Name’ box. Enter a page name.
- Next step, follow the instructions below to select a page type.
The new Report Template page must have a page name to be inserted/saved into the Report Template.
Cover Page – Select #
- Click ‘COVER PAGES’
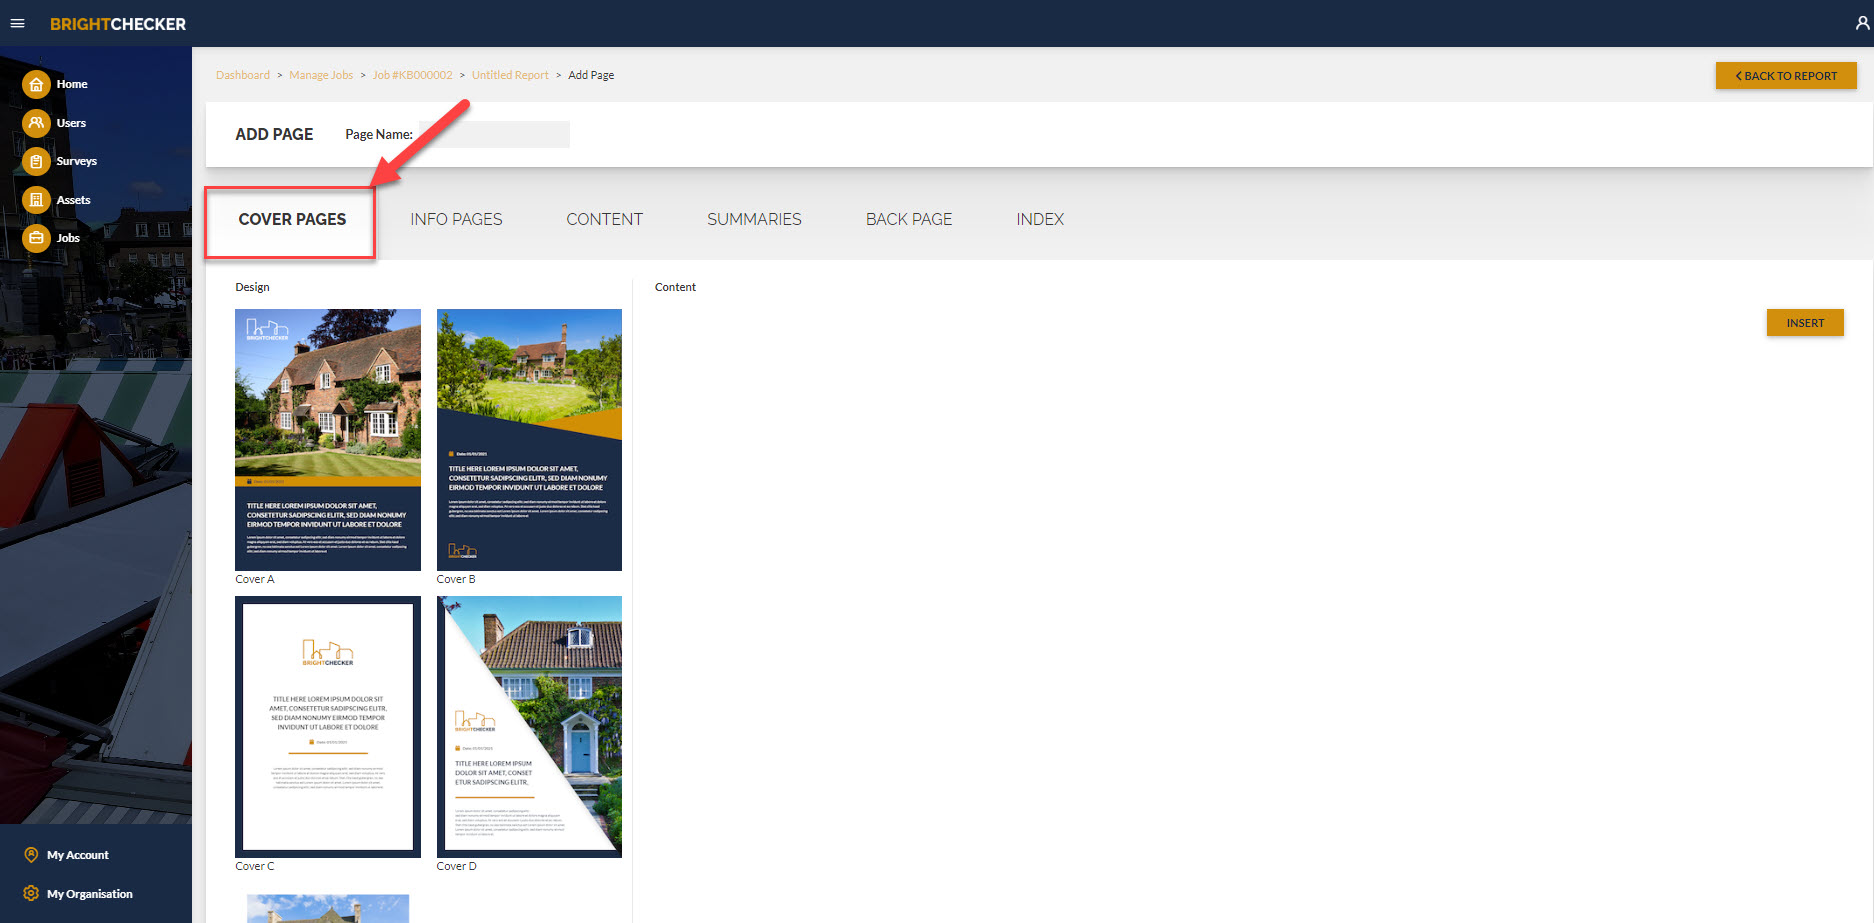
- As a result Cover Page designs are shown.
Cover Page – Designs #
Page design thumbnails are indicative. You can configure a page design e.g. Branding, Photos etc.
- Scroll down through the Page Designs (A,B,C Etc.)
- Click on a Page design.
- As a result content options will appear on the right hand side.
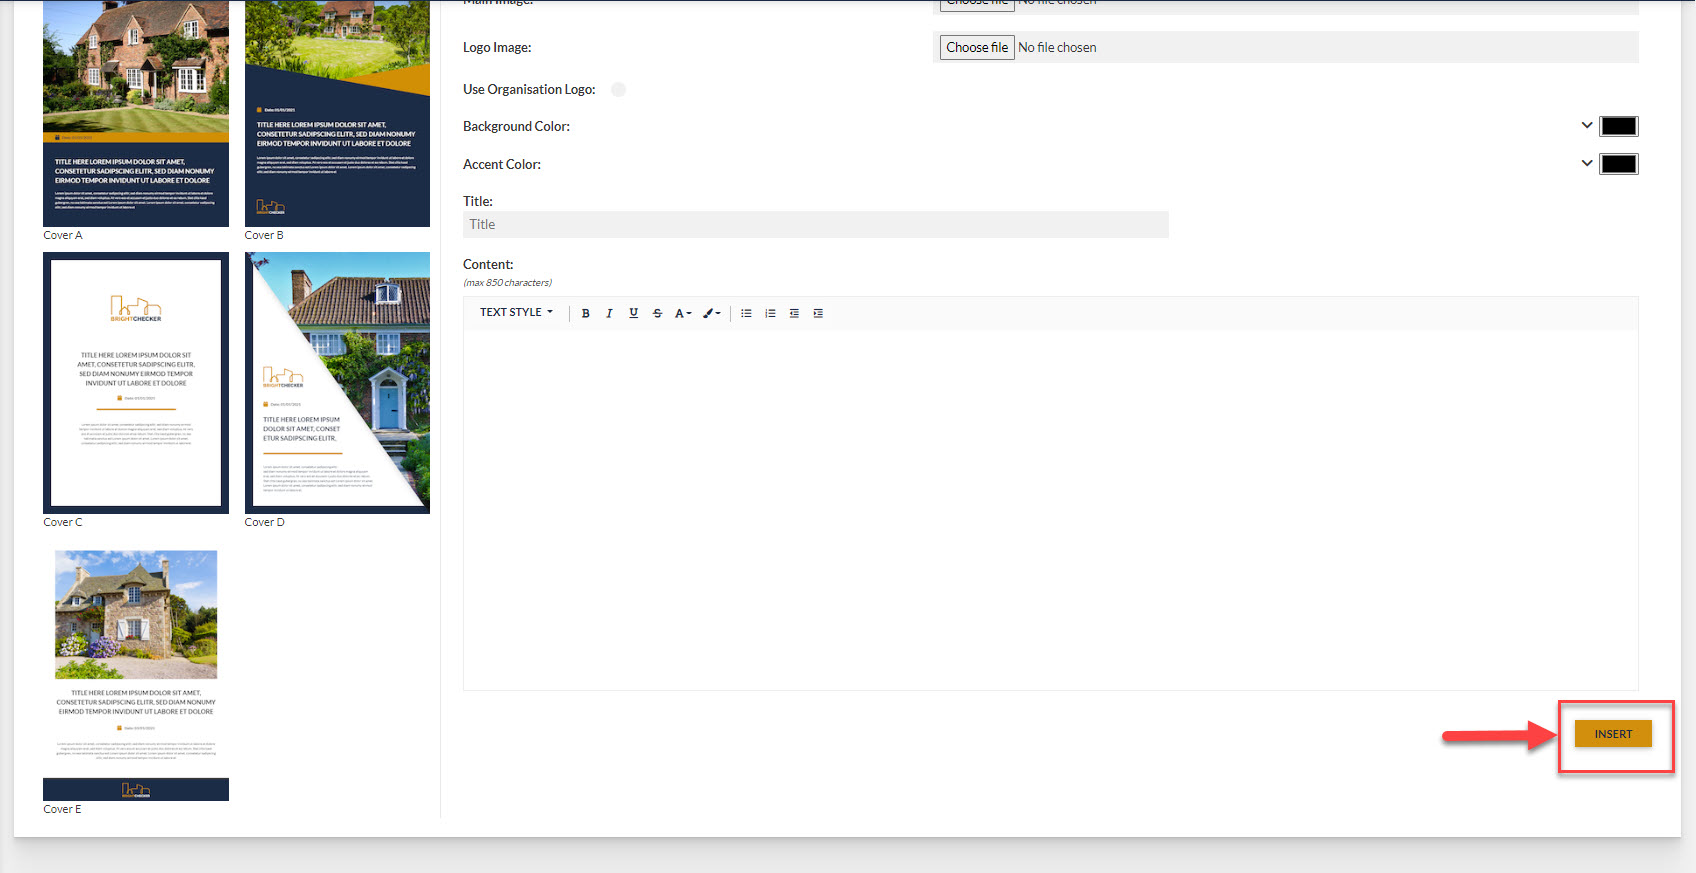
Cover Page – Content Options #
Important: Once options have been configured, click the insert button to save your page.
Designs often have a slightly different set of content options. Here is a generic list.
Main Image [the big photo on a cover page]– click on ‘Choose file’. Select Photo from your device storage.
Logo Image – Click on ‘Choose file’. Select Photo from your device storage.
Use Organisation Logo [already loaded your logo in the my organisation screen? Make use of it here!] – Click on button
Background Color: See Color Picker instructions below.
Accent Color [for lines etc.] : See Color Picker instructions below.
Title: Type in the box.
Content [The main text block] : Type in the box.
Color Picker Instructions [used for Background Colour, Accent Colour etc.]
Option 1: Click on the downward arrow to reveal the ‘My Organisation’ primary colour, secondary colour and accent colour. Click a colour.
Option 2: Click the colour palette. As a result the colour picker menu opens.
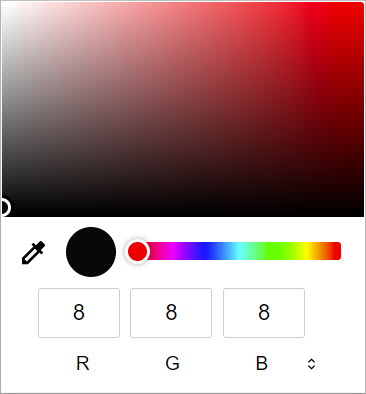
Set a colour by one of these methods:
- Type in the RGB colour.
- Click the up and down arrow (to the right RGB) twice to reveal the Hexadecimal box. Type in the hexadecimal code.
- Click on the colour picker, then click a colour to sample it.
- Click and drag the slider bar. Click on the circle in the colour tone box and drag to position.
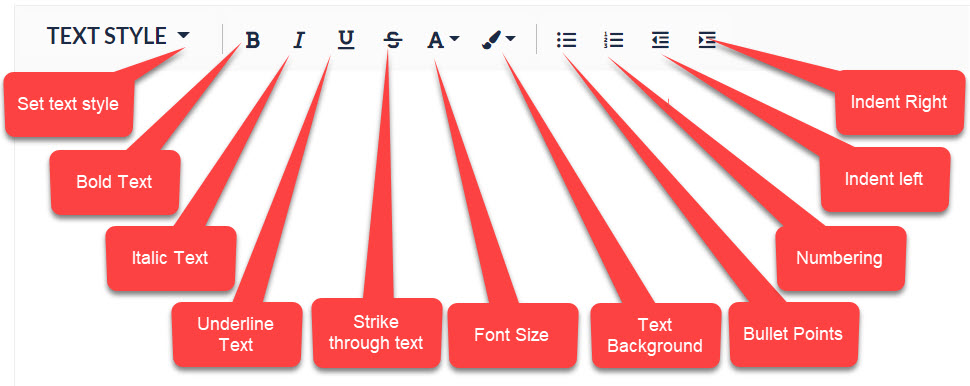
Text WYSIWYG Editor
Click and drag on the text to highlight it. Then click a WYSIWYG choice.
Info Page – Select #
- Click ‘INFO PAGES’
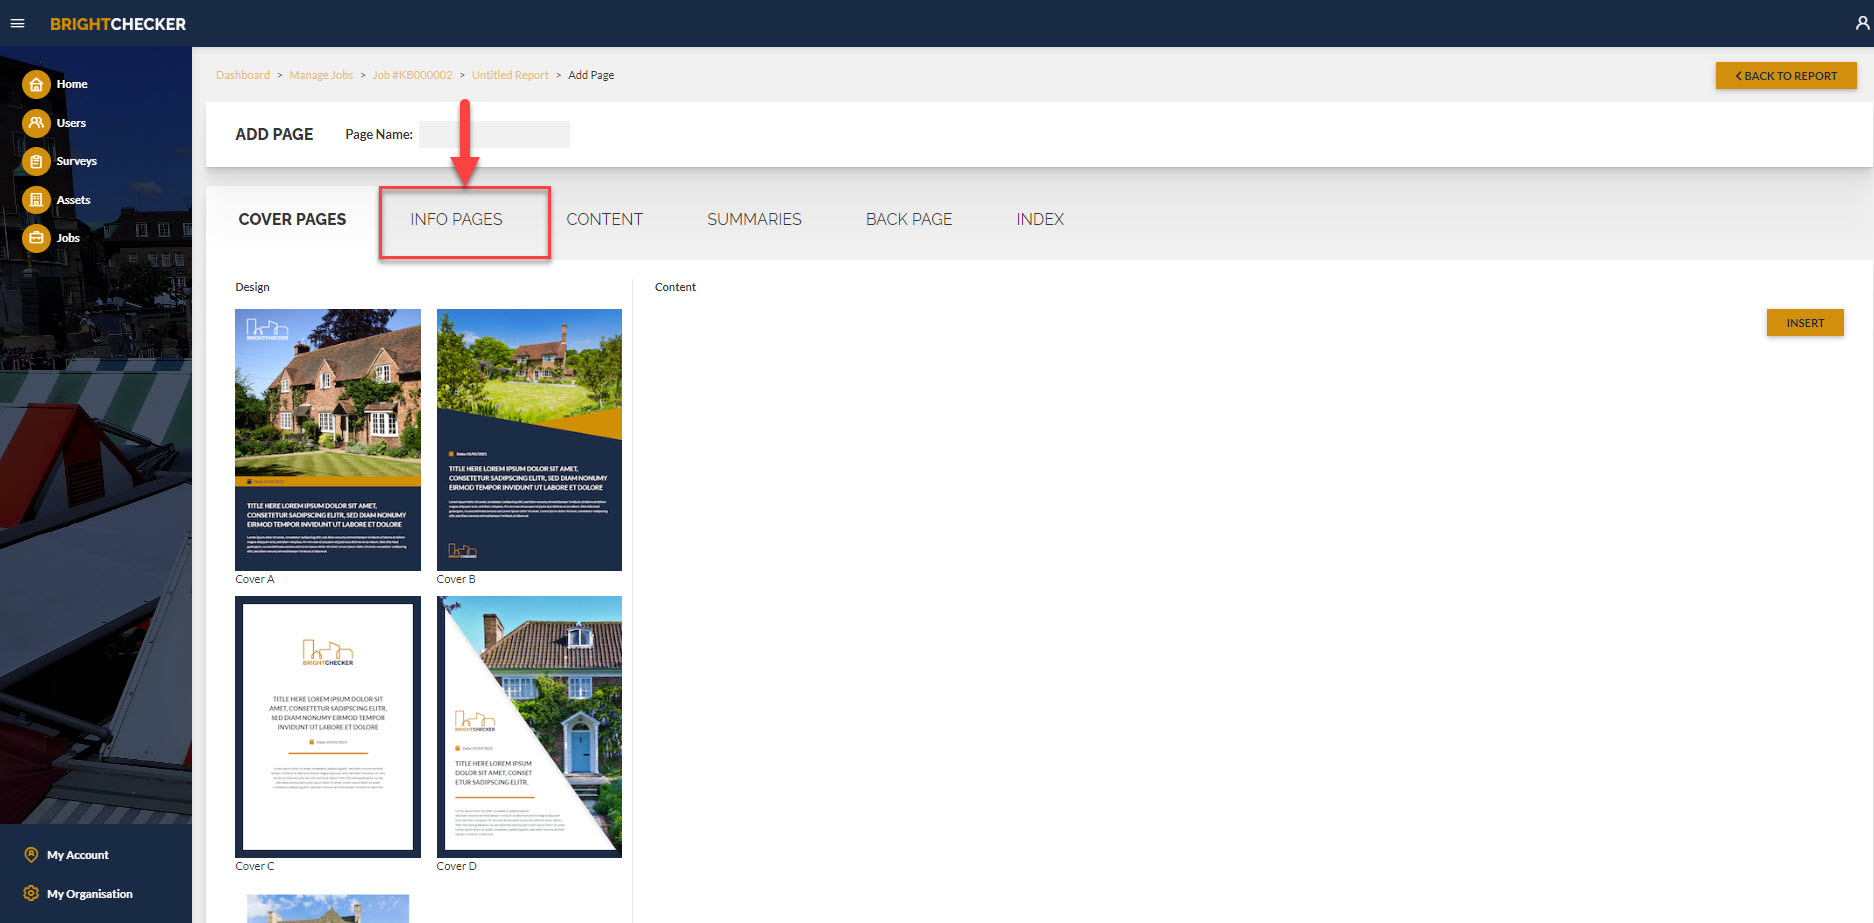
- As a result Info Page designs are shown.
Info Page – Designs #
Page design thumbnails are indicative. You can configure a page design e.g. Branding, Photos etc.
- Scroll down through the Page Designs (A,B,C Etc.)
- Click on a Page design.
- As a result content options will appear on the right hand side.
Info Page – Content Options #
Important: Once options have been configured, click the insert button to save your page.
Designs often have a slightly different set of content options. Here is a generic list.
Background Color: See Color Picker instructions below.
Accent Color [for lines etc.] : See Color Picker instructions below.
Main Image [the big photo on a cover page]– click on ‘Choose file’. Select Photo from your device storage.
Logo Image – Click on ‘Choose file’. Select Photo from your device storage.
Use Organisation Logo [already loaded your logo in the my organisation screen? Make use of it here!] – Click on button
Title: Type in the box.
Content [The main text block] : Type in the box.
Color Picker Instructions [used for Background Colour, Accent Colour etc.]
Option 1: Click on the downward arrow to reveal the ‘My Organisation’ primary colour, secondary colour and accent colour. Click a colour.
Option 2: Click the colour palette. As a result the colour picker menu opens.
Set a colour by one of these methods:
- Type in the RGB colour.
- Click the up and down arrow (to the right RGB) twice to reveal the Hexadecimal box. Type in the hexadecimal code.
- Click on the colour picker, then click a colour to sample it.
- Click and drag the slider bar. Click on the circle in the colour tone box and drag to position.
Text WYSIWYG Editor
Click and drag on the text to highlight it. Then click a WYSIWYG choice.
Content Page – Select #

- As a result Content Page designs are shown.
Content Page – Design #
Page design thumbnails are indicative. You can configure a page design e.g. Branding, Photos etc.
- Scroll down through the Page Designs (A,B,C Etc.)
- Click on a Page design.
- As a result content options will appear on the right hand side.
Content Page – Content Options #
Important: Once options have been configured, click the insert button to save your page.
Designs often have a slightly different set of content options. Here is a generic list.
Background Color: See Color Picker instructions below.
Accent Color [for lines etc.] : See Color Picker instructions below.
Title: Type in the box.
Color Picker Instructions [used for Background Colour, Accent Colour etc.]
Option 1: Click on the downward arrow to reveal the ‘My Organisation’ primary colour, secondary colour and accent colour. Click a colour.
Option 2: Click the colour palette. As a result the colour picker menu opens.
Set a colour by one of these methods:
- Type in the RGB colour.
- Click the up and down arrow (to the right RGB) twice to reveal the Hexadecimal box. Type in the hexadecimal code.
- Click on the colour picker, then click a colour to sample it.
- Click and drag the slider bar. Click on the circle in the colour tone box and drag to position.
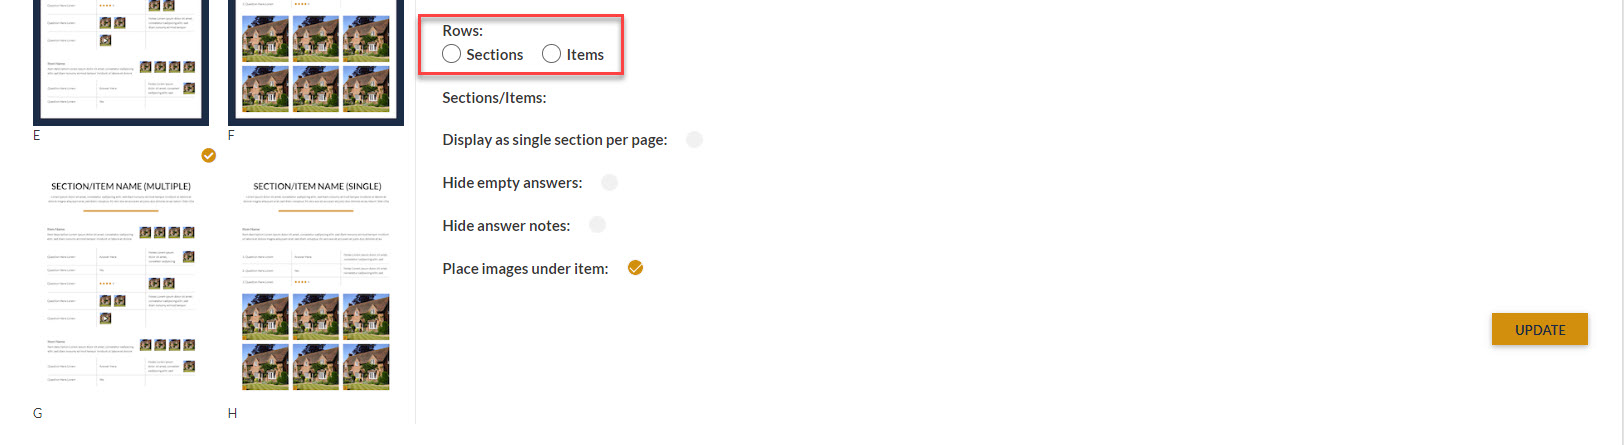
Rows #
- Set report row display option to section or items. Sections is the most commonly used option.
- As a result a drop down box appears underneath the section / items buttons. Click on the drop down box.
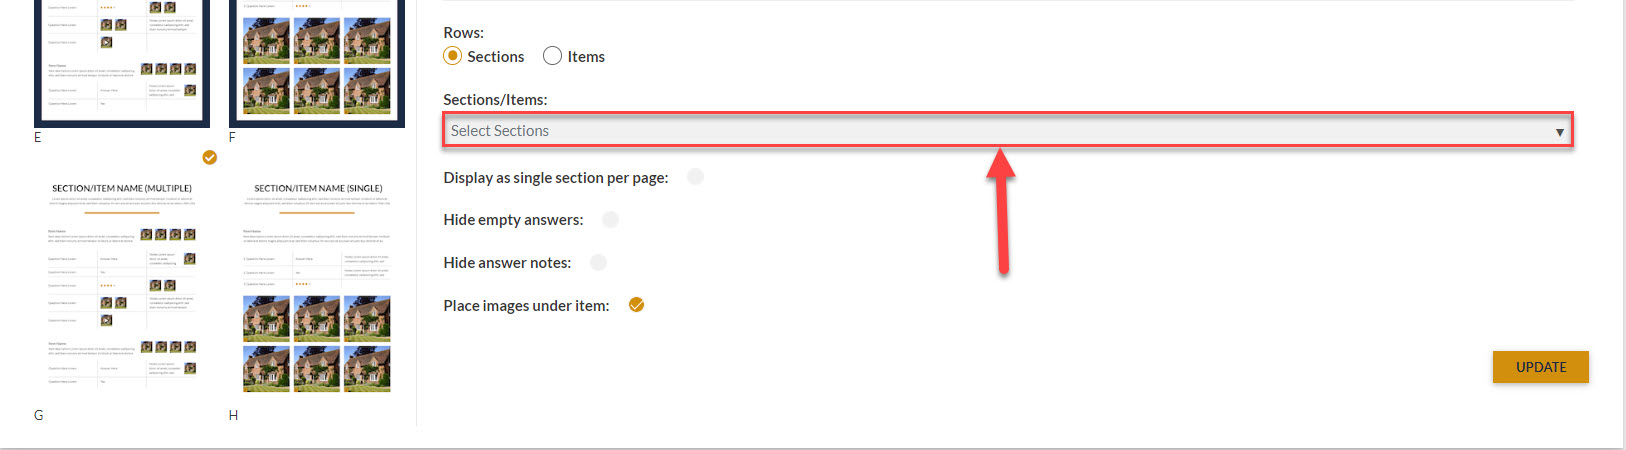
- Click on the drop down box. As a result, several options appear in the drop down box. These will reflect the survey used for the job.
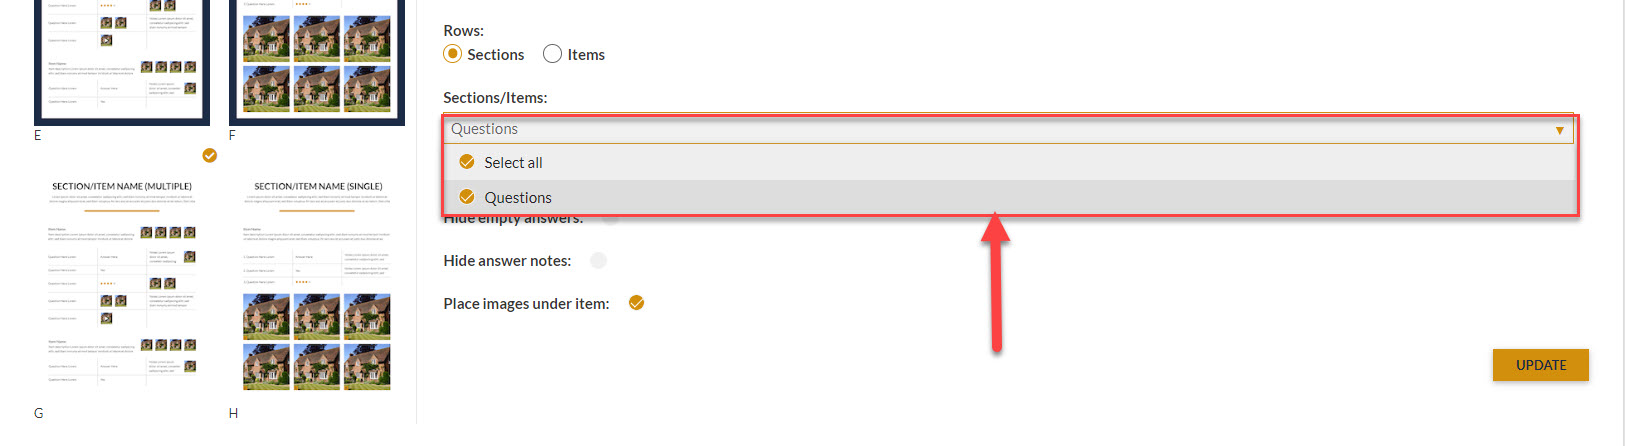
- If you have chosen Rows: Sections and you want to display every survey section click ‘Select All’.
- If you have chosen Rows: Items and you want to display every item click ‘Select All’.
- However, If you want to display one or more sections (or one or more items) click one or more individual options.
Other Settings #
- Click as required:
- Display as single section per page
- Hide empty answers
- Hide answer notes
- Place images under item (where present photos will appear in a block under each item)
Summaries Page – Select #
- Click ‘Summaries’
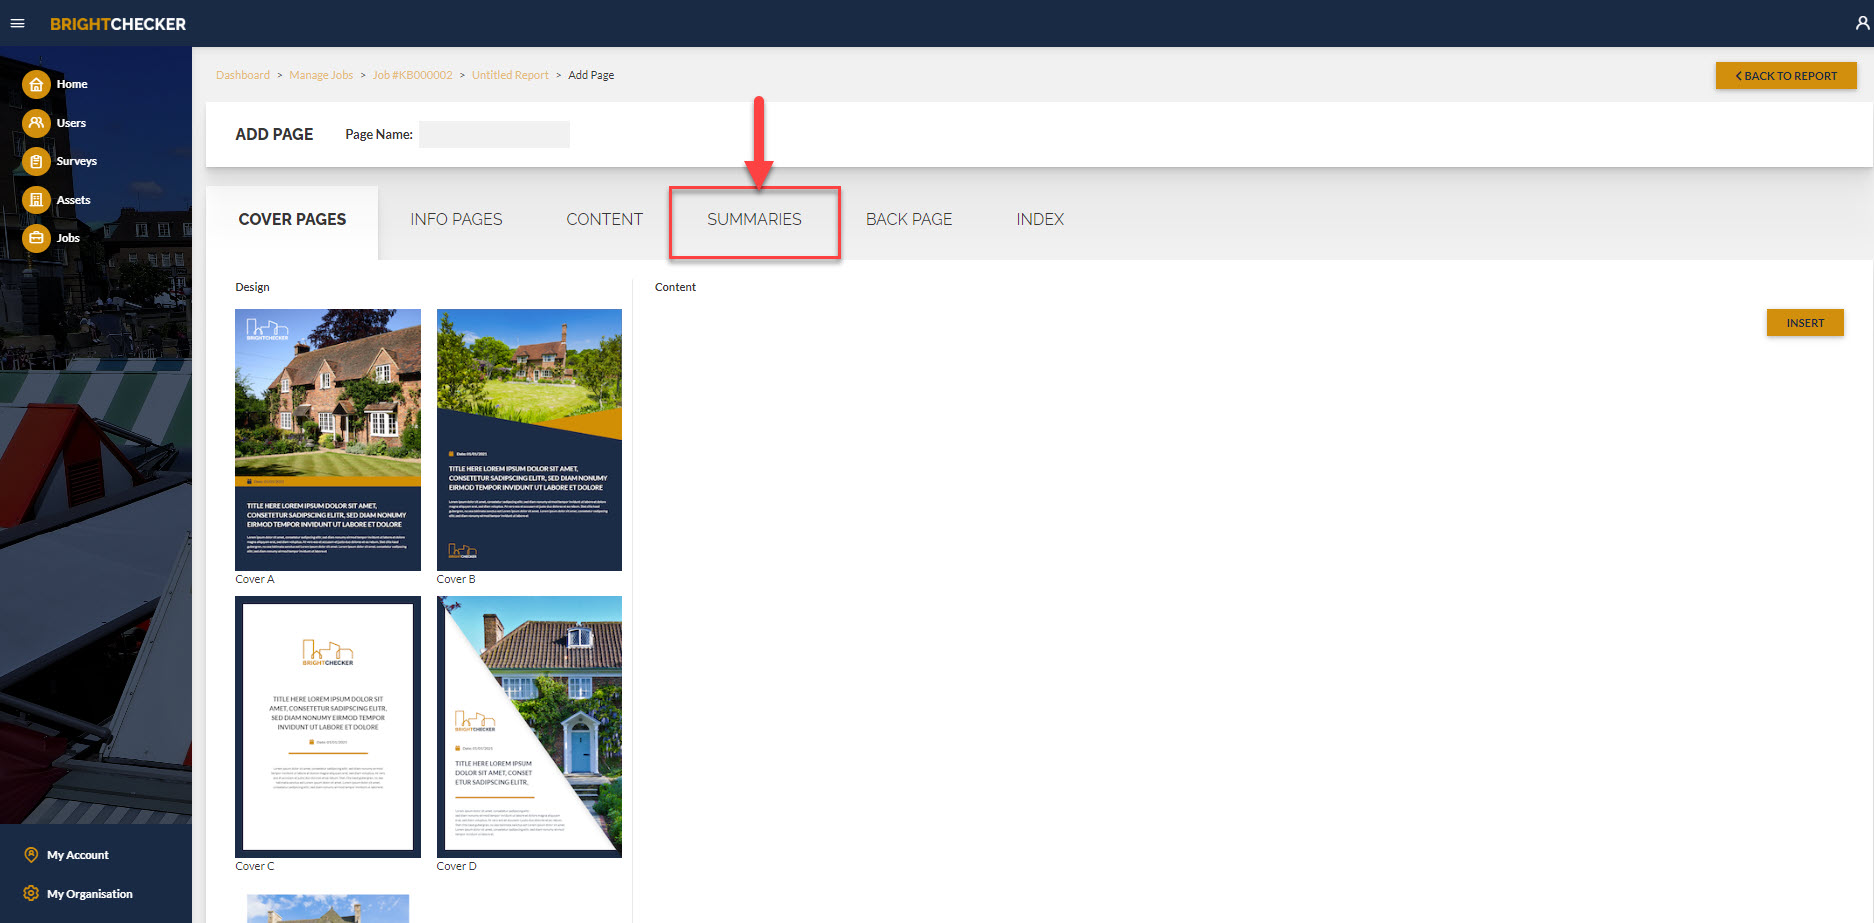
- As a result ‘Summaries’ Page designs are shown.
Summaries Page – Design #
Page design thumbnails are indicative. You can configure a page design e.g. Branding, Photos etc.
- Scroll down through the Page Designs (A,B,C Etc.)
- Click on a Page design.
- As a result content options will appear on the right hand side.
Summaries Page – Content Options #
Important: Once options have been configured, click the insert button to save your page.
Designs often have a slightly different set of content options. Here is a generic list.
Background Color: See Color Picker instructions below.
Accent Color [for lines etc.] : See Color Picker instructions below.
Main Image [the big photo on a cover page]– click on ‘Choose file’. Select Photo from your device storage.
Use Organisation Logo [already loaded your logo in the my organisation screen? Make use of it here!] – Click on button
Title: Type in the box.
Color Picker Instructions [used for Background Colour, Accent Colour etc.]
Option 1: Click on the downward arrow to reveal the ‘My Organisation’ primary colour, secondary colour and accent colour. Click a colour.
Option 2: Click the colour palette. As a result the colour picker menu opens.
Set a colour by one of these methods:
- Type in the RGB colour.
- Click the up and down arrow (to the right RGB) twice to reveal the Hexadecimal box. Type in the hexadecimal code.
- Click on the colour picker, then click a colour to sample it.
- Click and drag the slider bar. Click on the circle in the colour tone box and drag to position.
Text WYSIWYG Editor
Click and drag on the text to highlight it. Then click a WYSIWYG choice.
Back Page – Select #
- Click ‘Back Page’
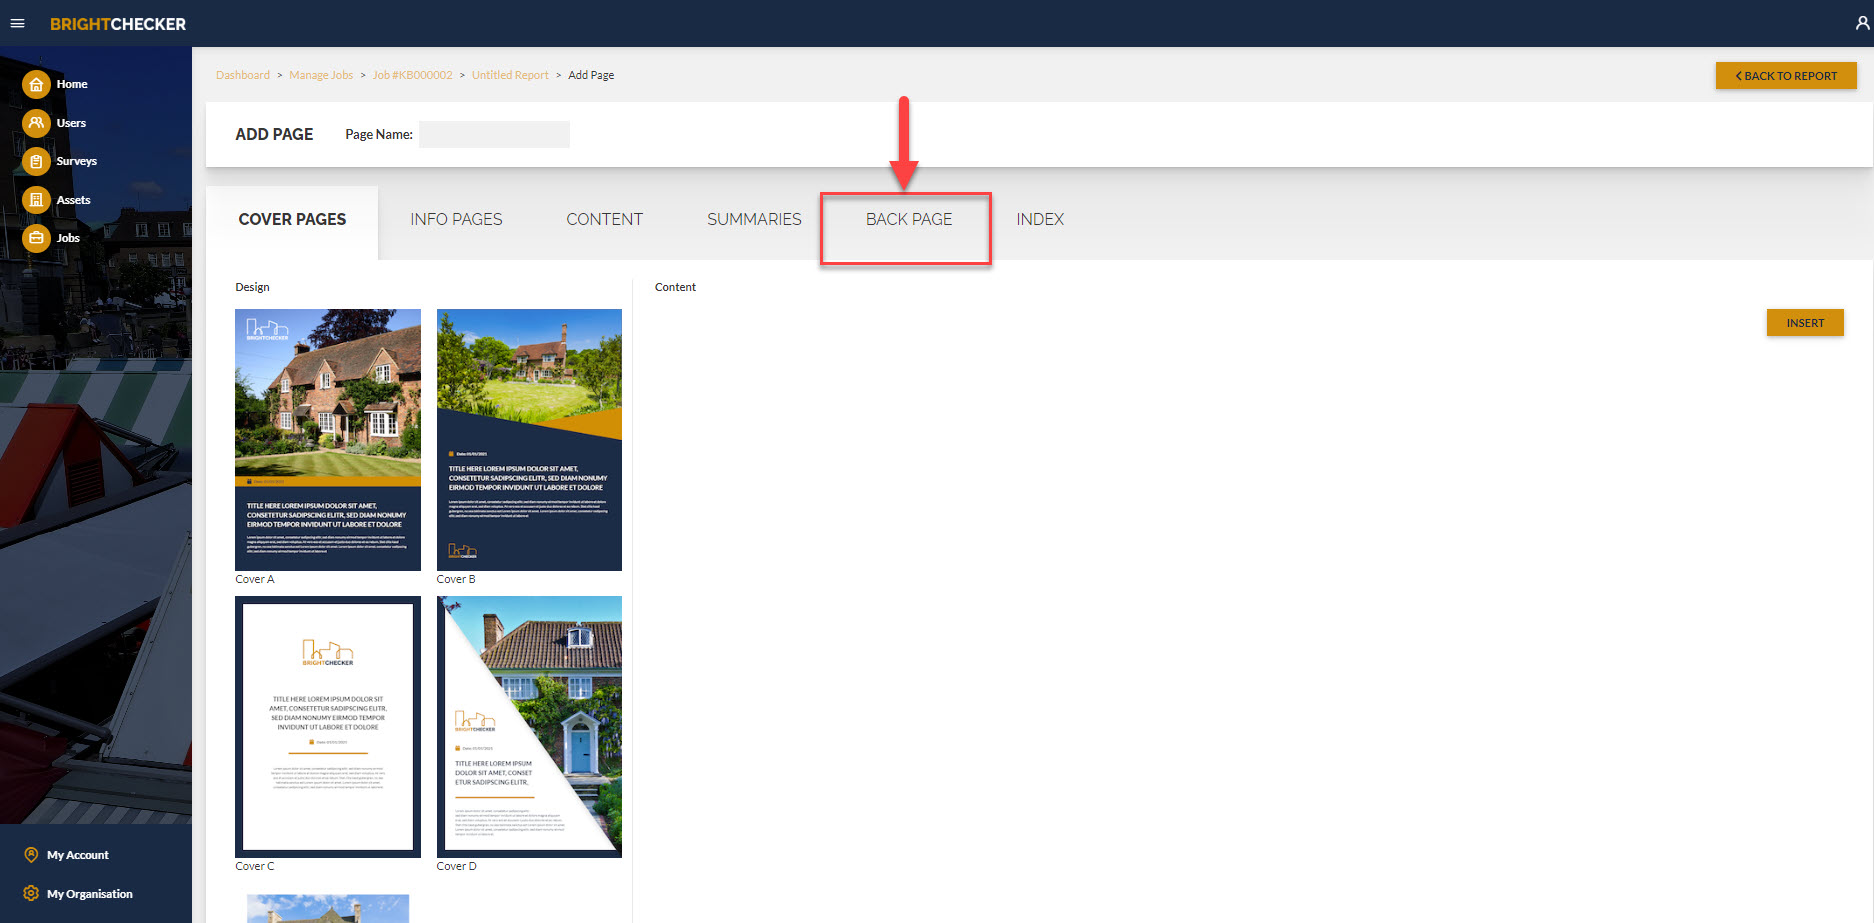
- As a result ‘Back Page’ designs are shown.
Back Page – Design #
Page design thumbnails are indicative. You can configure a page design e.g. Branding, Photos etc.
- Scroll down through the Page Designs (A,B,C Etc.)
- Click on a Page design.
- The page design will have tick placed against it, and contents options will appear on the right hand side.
Back Page – Content Options #
Important: Once options have been configured, click the insert button to save your page.
Designs often have a slightly different set of content options. Here is a generic list.
Background Color: See Color Picker instructions below.
Accent Color [for lines etc.] : See Color Picker instructions below.
Logo Image – Click on ‘Choose file’. Select Photo from your device storage.
Use Organisation Logo [already loaded your logo in the my organisation screen? Make use of it here!] – Click on button
1/ Contact Name : Type in the box.
2/ Contact Phone: Type in the box.
3/ Contact Email: Type in the box.
4/ Contact Address: Type in the box.
Color Picker Instructions [used for Background Colour, Accent colour etc.]
Option 1: Click on the downward arrow to reveal the ‘My Organisation’ primary colour, secondary colour and accent colour. Click a colour.
Option 2: Click the colour palette. As a result the colour picker menu opens.
Set a colour by one of these methods:
- Type in the RGB colour.
- Click the up and down arrow (to the right RGB) twice to reveal the Hexadecimal box. Type in the hexadecimal code.
- Click on the colour picker, then click a colour to sample it.
- Click and drag the slider bar. Click on the circle in the colour tone box and drag to position.
Text WYSIWYG Editor
Click and drag on the text to highlight it. Then click a WYSIWYG choice.
Index Page – Select #
- Click Index
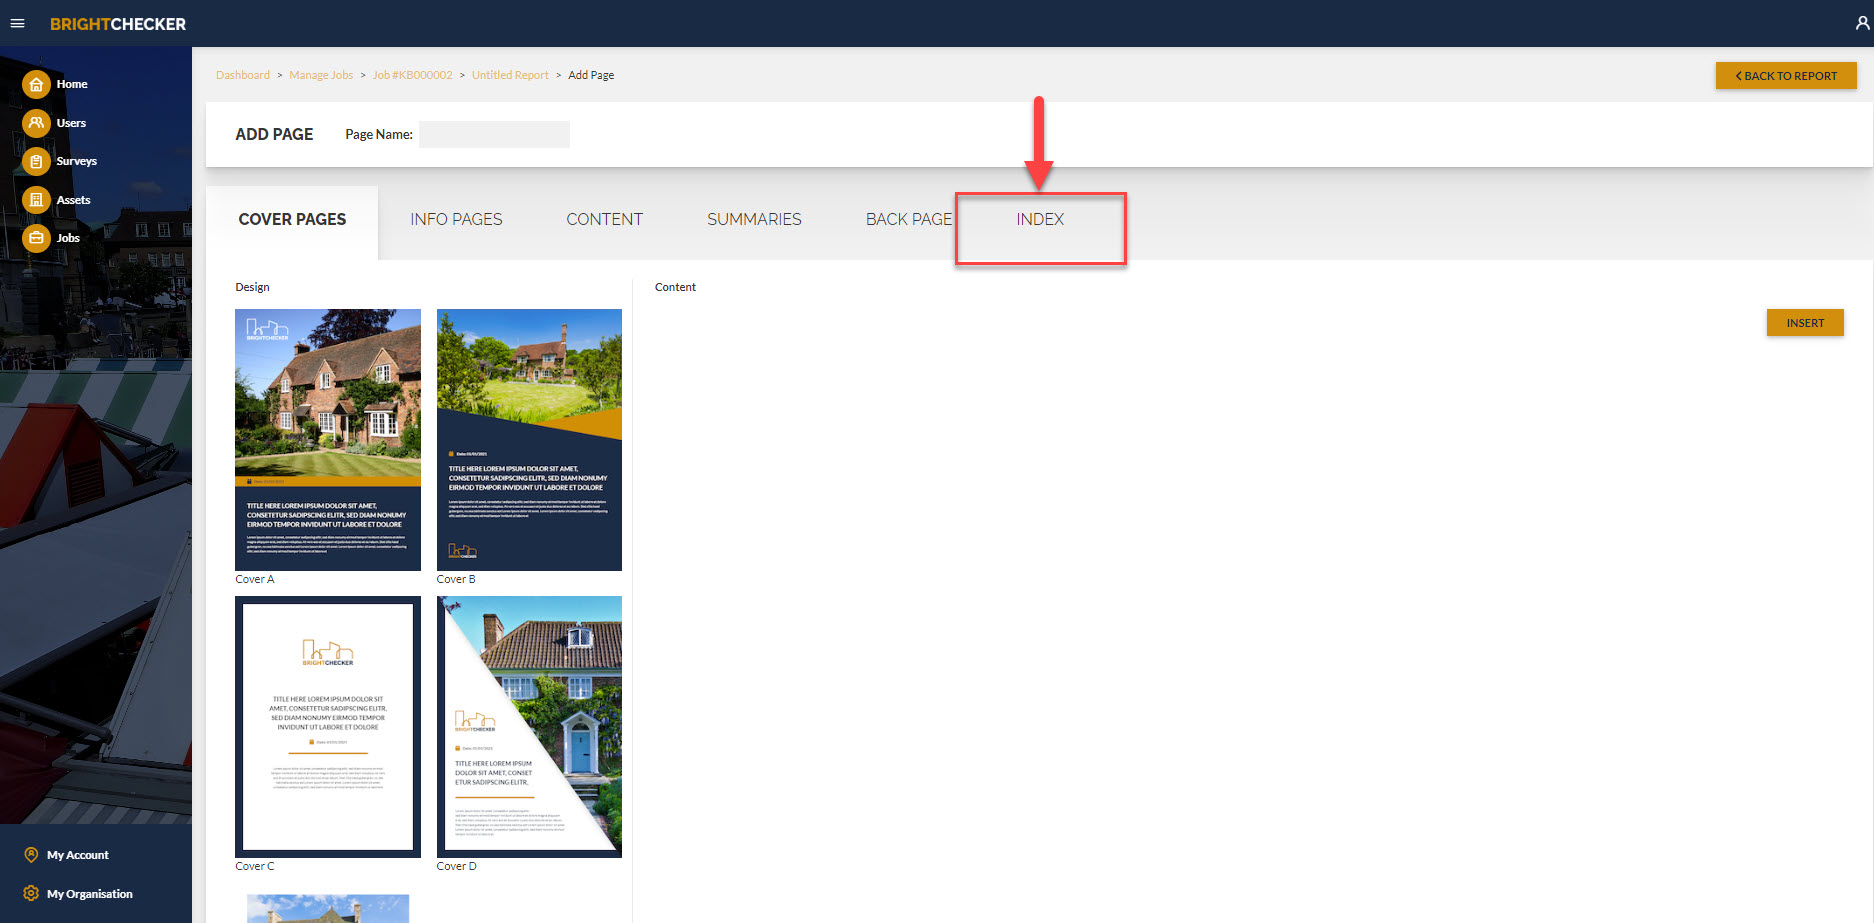
- As a result Index Page designs are shown.
Index Page – Design #
Page design thumbnails are indicative. You can configure a page design e.g. Branding, Photos etc.
- Scroll down through the Page Designs (A,B,C Etc.)
- Click on a Page design.
- The page design will have tick placed against it, and contents options will appear on the right hand side.
Index Page – Content Options #
Important: Once options have been configured, click the insert button to save your page.
Designs often have a slightly different set of content options. Here is a generic list.
Background Color: See Color Picker instructions below.
Accent Color [for lines etc.] : See Color Picker instructions below.
Main Image [the big photo on a cover page]– click on ‘Choose file’. Select Photo from your device storage.
Color Picker Instructions [used for Background Colour, Accent colour etc.]
Option 1: Click on the downward arrow to reveal the ‘My Organisation’ primary colour, secondary colour and accent colour. Click a colour.
Option 2: Click the colour palette. As a result the colour picker menu opens.
Set a colour by one of these methods:
- Type in the RGB colour.
- Click the up and down arrow (to the right RGB) twice to reveal the Hexadecimal box. Type in the hexadecimal code.
- Click on the colour picker, then click a colour to sample it.
- Click and drag the slider bar. Click on the circle in the colour tone box and drag to position.
Text WYSIWYG Editor
Click and drag on the text to highlight it. Then click a WYSIWYG choice.
Report Page – Insert/Save #
Remember to check that this page has a page name.
- Once a Page has been configured, click the insert button to save your page.
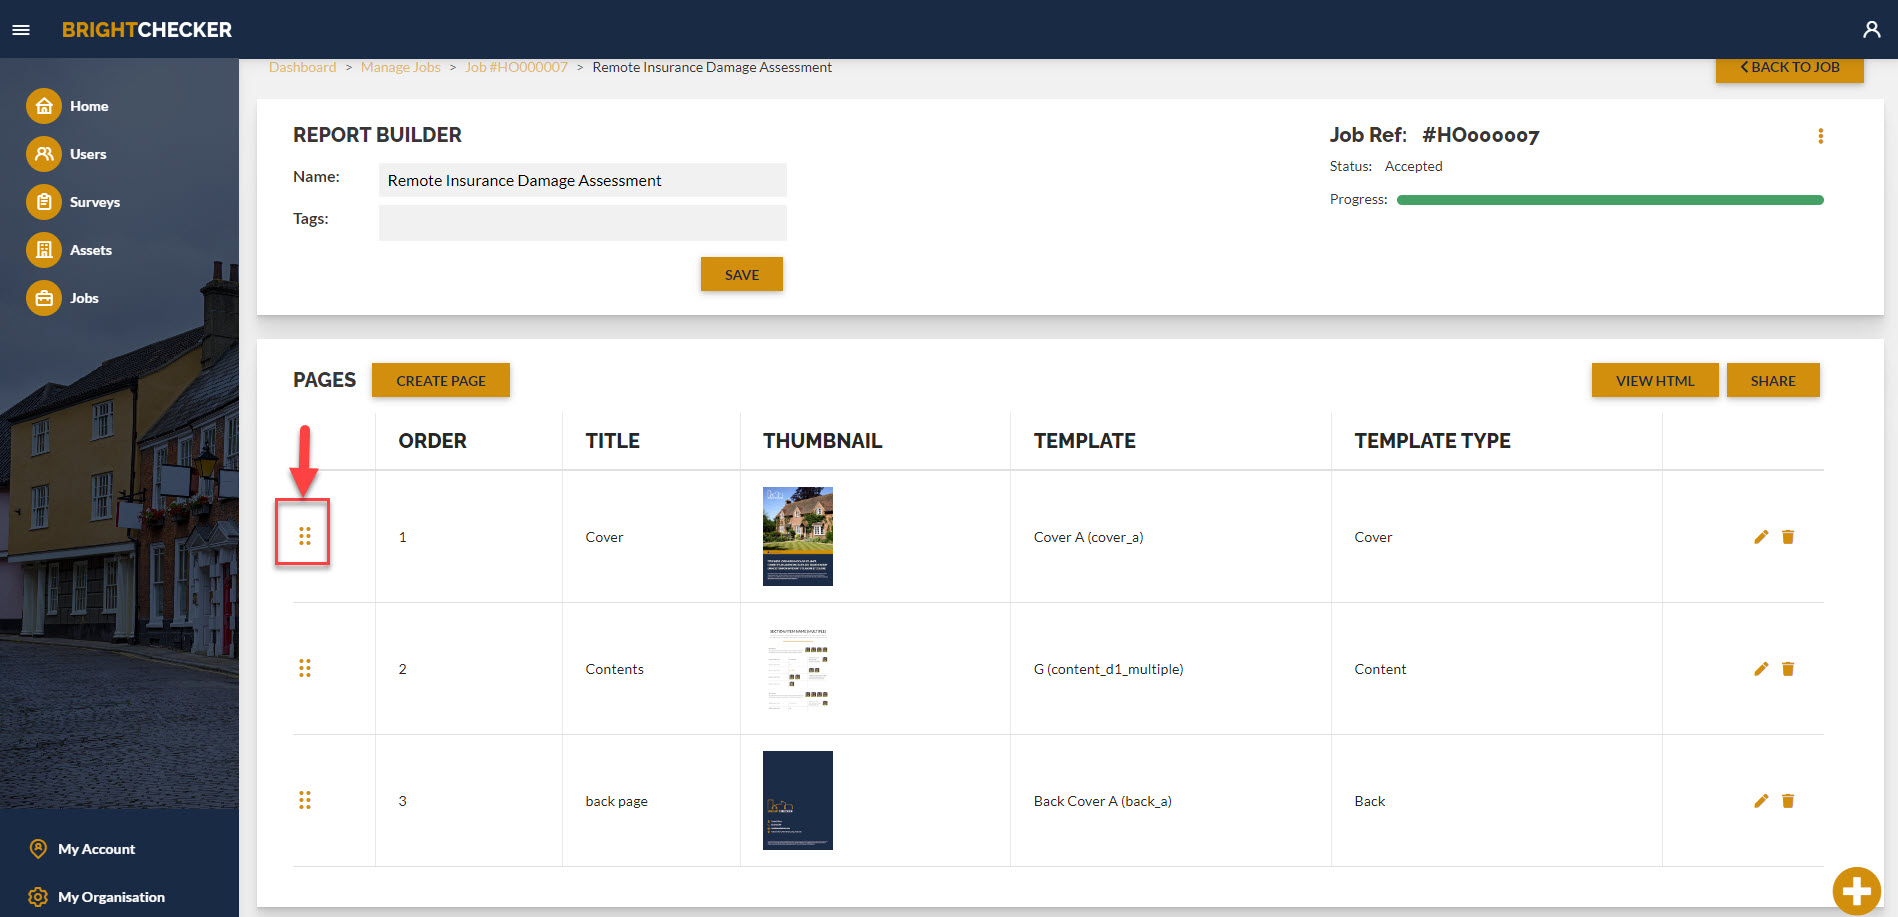
Multiple Pages #
You can include multiple cover pages, info pages, content pages and summaries pages in whatever order you need.
Change Page Order #
Report page groupings can be reordered by clicking and dragging (move the cursor over the 6 dots of the page you want to move, click and hold, move the cursor to where you want the page to be, release the click).
Report Template – Edit #
Once you have created a report template, you can continue to edit it, to get it ‘just right’.
From the ‘Reports’ sidebar, choose a Report template to edit and click on the pen icon next to it.
Then see ‘Create, Edit & Delete A Report Template’ instructions above.
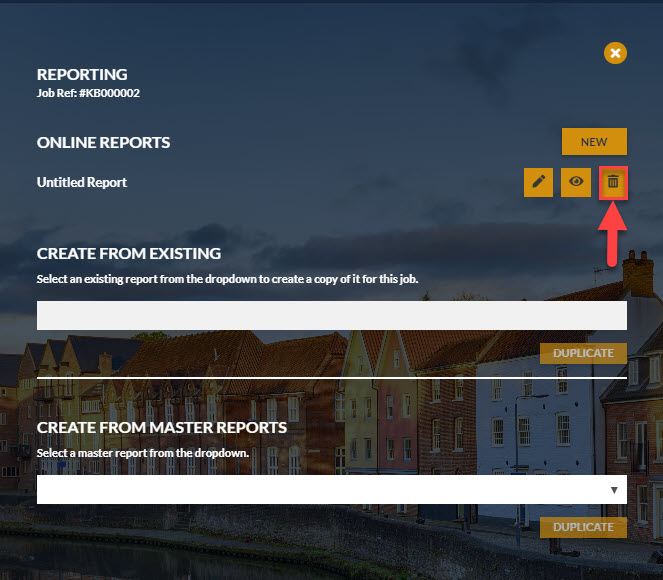
Report Template – Remove from Job #
- From the ‘Reports’ sidebar, click the Bin icon button next to a report template. The Report template will no longer be associated from this job.
Useful Links #
Check out the Brightchecker Knowledgebase Index
Register or Log in with the Brightchecker Dashboard
Read more about us at the Brightchecker Home Page
About the Author #
Here’s the feedback option for this Knowledge Base article, how did we do?