Click on the topic you want to learn more about, alternatively scroll down the page.
Add Job #
Note: Check that there is at least one Asset ready to be attached to a job – otherwise you will not be able to successfully set up a job.
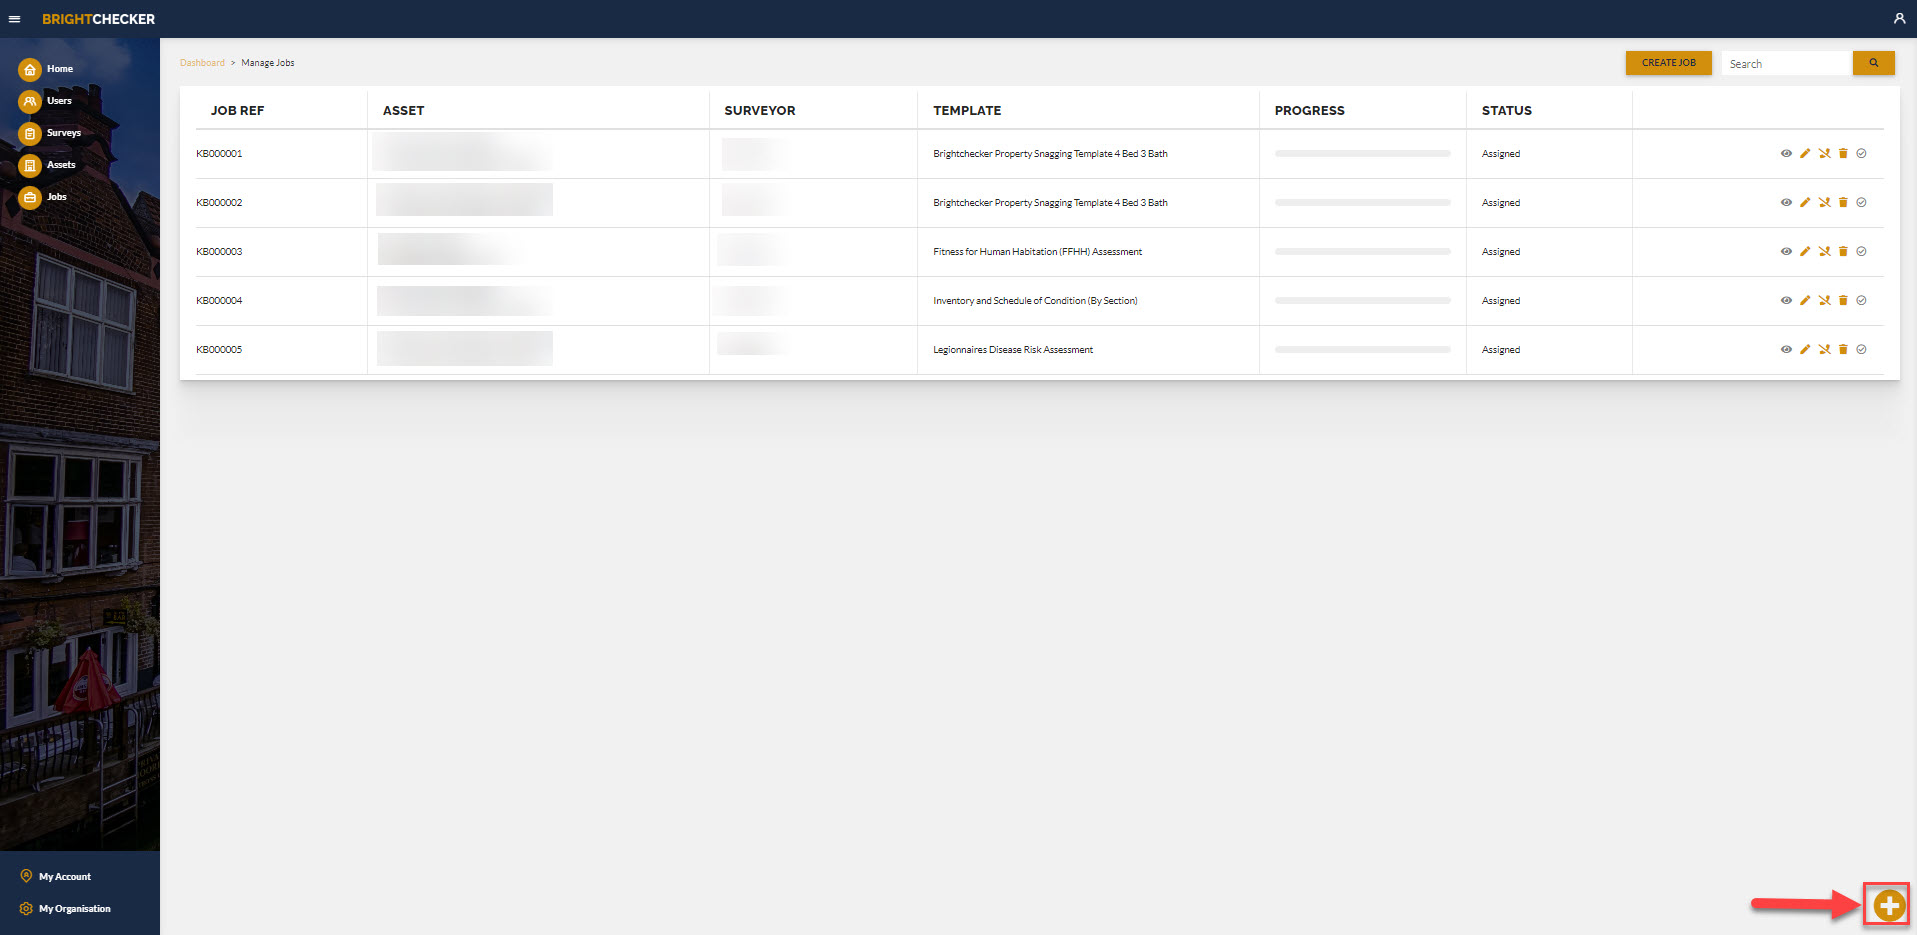
From the ‘Jobs’ screen, click ‘Create Job’.

As a result, the ADD NEW JOB sidebar opens. Click the x button to close the sidebar if it was opened by accident.
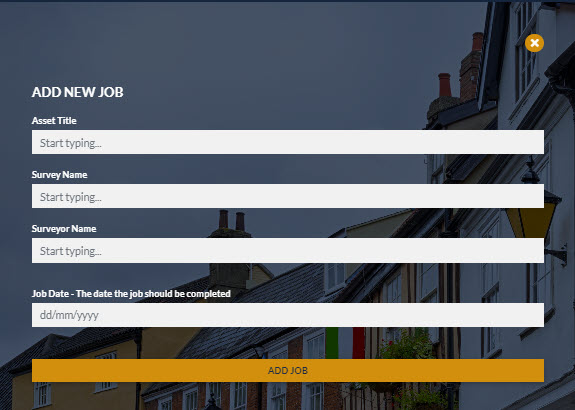
Enter the following details:
- Asset Name (start typing and a suggested match will be made, or click in the field and a drop-down list will appear, you can scroll up and down the list).
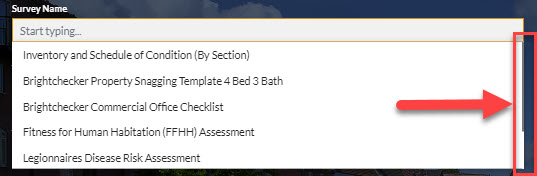
- Survey Name (start typing and a suggested match will be made, or click in the field and a drop-down list will appear, you can scroll up and down the list).
- Surveyor Name (start typing and a suggested match will be made, or click in the field and a drop-down list will appear, you can scroll up and down the list).
Note: Where can I find the Scroll Bar?
When there are too many values to display in one go in a drop down list, you can see more by scrolling up and down. Click and drag on the scroll bar.
- Job Date (Click in the field, a calendar opens, click on a calendar date, and click ok)
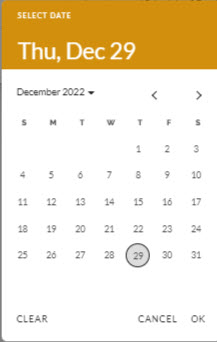
Note: To move a month forward click ‘>’.
Click ‘Add Job’.

The job will be added and the ADD NEW JOB sidebar will automatically close.
Alternate Create Job Method: From the ‘Jobs’ screen, click on the round orange and white ‘+’ symbol. Then follow the instructions above.
Email Job Notification #
Where a job is allocated to an individual other than the person that created the job, then a system generated email job notification will be sent to that individual.
Note: Check your spam email folder if the notification is not immediately visible.
Edit Job #
From the ‘Jobs’ screen, click the ‘pen’ button to amend the job – action only available when the pen icon is orange.

Delete Job #
From the ‘Jobs’ screen, click the ‘bin’ button to permanently delete the job.