In the world of real estate, property inspection reports are crucial for buyers, letting agents, and property managers. These reports provide a detailed assessment of the condition of a property, highlighting any defects or potential issues that need addressing. While reports traditionally relied on textual descriptions, the inclusion of photos has increasingly become good practice. In this ‘Why Property Inspection Reports Need Photos’ article we will dive into more detail on this.
Why photos?

Firstly, photos capture the exact condition of the property at the time of inspection, leaving no room for misinterpretation. This ensures that both buyers, landlords, agents and sellers have a clear picture and understanding of any existing issues.
Photos can provide a wealth of information within seconds. When it comes to inspection reports, photos often allow for a much clearer and quicker understanding of the state of a property. If you are an inventory clerk or a property manager or inspector they are invaluable. Instead of relying solely on textual descriptions, photos enable the reader to visualize and explain the problem clearly and accurately.
Moreover, photographic evidence add a layer of transparency and credibility. By taking pictures and providing visual evidence to support the written descriptions, the report becomes more trustworthy and reliable.
Capturing Defects: How Photos Help Identify Property Issues

When inspecting a property, it is not uncommon to come across defects or potential safety issues themselves. These can range from minor cosmetic imperfections to major structural concerns. Photos play a vital role in identifying and capturing these defects.
By including photos of defects in the report, the reader gains a comprehensive view of the problem. Instead of relying on vague descriptions, they can see the issue for themselves, enabling them to get more advice and make informed decisions regarding the property.
Furthermore, taking photos regular inspections can help inspectors track the progress of certain defects over time. By taking photos, including before and after photos, inspectors can visually demonstrate the effectiveness of repairs or renovations conducted on the property.
The Benefits to a Potential Buyer
Imagine you are a potential buyer interested in purchasing a house. You receive a detailed inspection report that highlights various issues, such as water damage in the basement and a cracked foundation.
Without access to photos, you would have to rely solely on the written descriptions to understand the severity of these problems. However, with photos, you can see the extent of the water damage and the potential impact on the overall structure of the house.
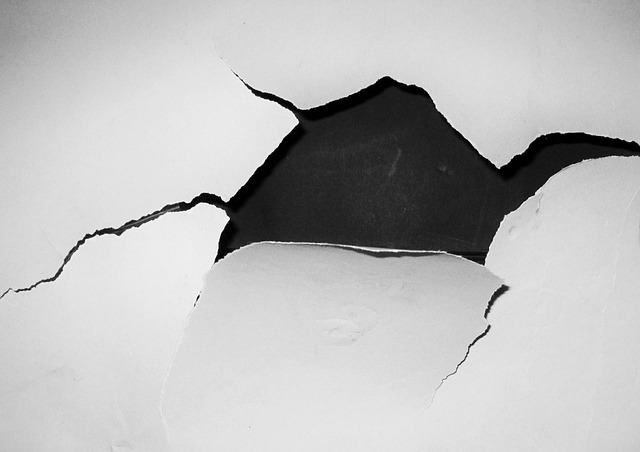
Imagine a scenario where a property inspector identifies and photographs a crack in the foundation of a house. Without the evidence of a photograph, it may be difficult for the buyer or seller to fully comprehend the severity of the issue.
However, with a clear photo showing the crack in detail, there is no room for doubt or confusion.

Negotiations play a pivotal role in real estate transactions. Report photos can significantly aid in these negotiations by providing visual evidence of the property’s condition and any defects.
Buyers can use the photos to bolster their case for a lower purchase price or repairs to the property properly be made. These visual representations add weight to their argument, making it more likely for sellers to agree to their requests.

Additionally, inspection photos used in property inspection reports can also serve as a reference for future maintenance or renovations. Let’s say you decide to purchase the house despite the issues identified in the inspection report. Having access to the same inspection photos now allows you to pinpoint the exact areas that need attention and plan your future repairs accordingly.
Rental Properties
Photos provide a visual timeline for rental properties. For example, if several inspection reports over time include multiple photos of a leaking roof, you can see how the problem has progressed over time. It allows you to make informed decisions based on concrete photographic evidence rather than relying solely on the inspector’s words.

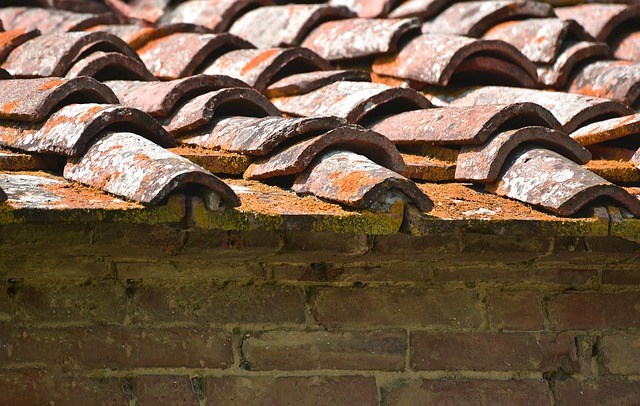
Let’s consider a situation where an inspector identifies a leak in the roof of a property they inspect. By taking detailed photos of the affected area, the inspector can better analyse the extent of the damage. This visual evidence enables them to provide a more accurate assessment of the repair work required, including the specific materials and labour needed.
This saves the landlord and you time and money by ensuring that you address the most critical issues first and avoid any surprises down the line.
Furthermore, photos can also serve as a valuable reference for future inspections. By comparing current inspection photos with those taken in previous inspections, inspectors can track the progress of repairs or identify any recurring maintenance issues.
This historical documentation not only helps in maintaining the accuracy of reports but also provides landlords and tenants with a comprehensive record of the state of the property over time.
Photos taken at Check in, mid term inspections, and check outs can discourage a tenant from damaging a property. The property owner or letting agent can justify keeping part or all of a deposit with photos if the tenant damages furniture or the property.
The Benefits of Including Before and After Photos in Inspection Reports
One of the most significant advantages of including before and after photos in inspection reports is their capacity to illustrate the effectiveness of repairs or renovations. These photos give buyers confidence that issues have been adequately addressed and are evidence that the property has been well maintained and made safe for habitation.
Best Practices for Taking Inspection Photos
- Make sure you have the tenants permission in advance, in accordance with the tenancy agreement, for periodic inspections, after all they have the right to quiet enjoyment of the property.
- Ensure proper lighting: Good lighting is crucial for capturing clear and detailed photos. Natural light is often the best option to avoid distorted colours and shadows.
- Capture various angles: To provide a comprehensive view, capture multiple angles of the defect or area of interest.
- Avoid obstructions: Clear any obstructions that may affect the visibility of the subject being photographed.
- Include a scale reference: To provide context, include a scale reference, such as a ruler or a hand, next to the defect or area of interest.
Common Mistakes to Avoid

- Blurry or low-quality photos: Poor image quality makes it difficult to identify and understand the condition of a property.
- Insufficient coverage: To ensure a comprehensive report, capture all relevant areas and defects thoroughly.
- Lack of labelling: Clearly label each photo to indicate the specific area or defect it represents.
- Overwhelming with unnecessary photos: Select the most relevant photos that effectively convey the state of a property and avoid overwhelming the report with unnecessary images.
The inclusion of photos in reports elevates their accuracy, transparency, and effectiveness.
By capturing defects, aiding negotiations, and enhancing the overall understanding of the state of a property, photos have become an indispensable part of reports.
Following best practices for taking photographs, and avoiding common mistakes ensures that these photos enhance the quality and credibility of a professional report.
Ethical Considerations
Make sure you have the tenant’s consent.

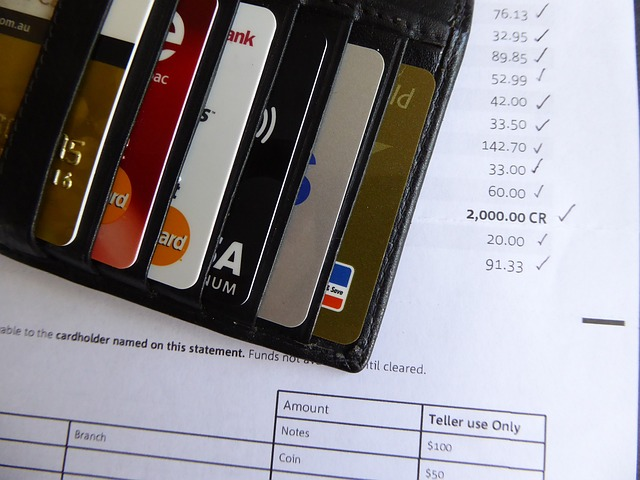
Don’t take photographs of family photos, other personal items or possessions, and sensitive documents e.g. Bank Statements. You do not want the current owner or tenant to feel violated.
Adding Photos with the Brightchecker App
You can take photos with your mobile device’s camera or add photos from your gallery against any question type during a job (so long as the notes feature has been enabled).
You can reopen any saved photo, just to make sure its the one you want, and quickly delete if needed.
We have had hundreds and hundreds of photos on a single job.
Furthermore, you can add or delete photos whilst performing a job review in the Brightchecker main dashboard.
Top Tip: Click on any photo in the final report and it will open up in a bigger size format.
Check out the Brightchecker Knowledge base for more photo facts!
In Conclusion – Property Inspection Reports Need Photos
The inclusion of photos in reports significantly enhances their accuracy. By providing a visual record of property inspections that is indisputable and aiding inspectors in their assessment, photos ensure that the state of a property and property damage are captured and documented accurately.
The presence of photos in inspection reports is an invaluable asset that promotes transparency and informed decision-making.
Additional Reading
Read about Videos
More Helpful Content
Visit our Homepage
